How to get started

From Application to Card Delivery
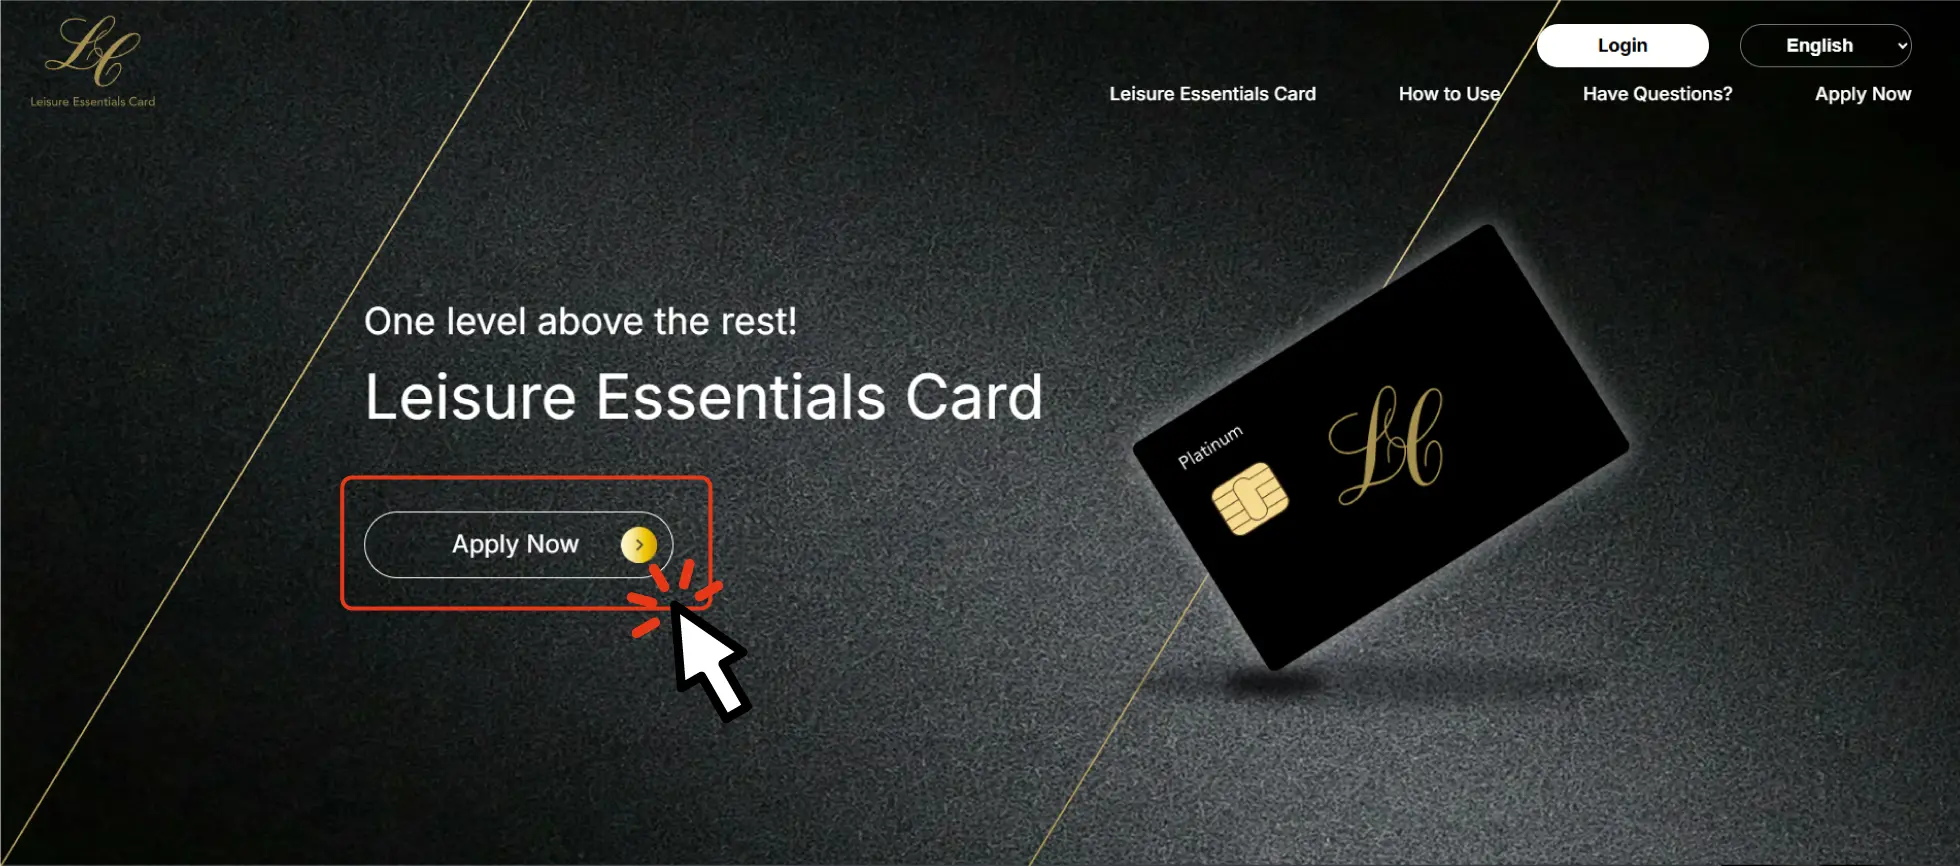
From the website's top page, click 'Apply Now'.
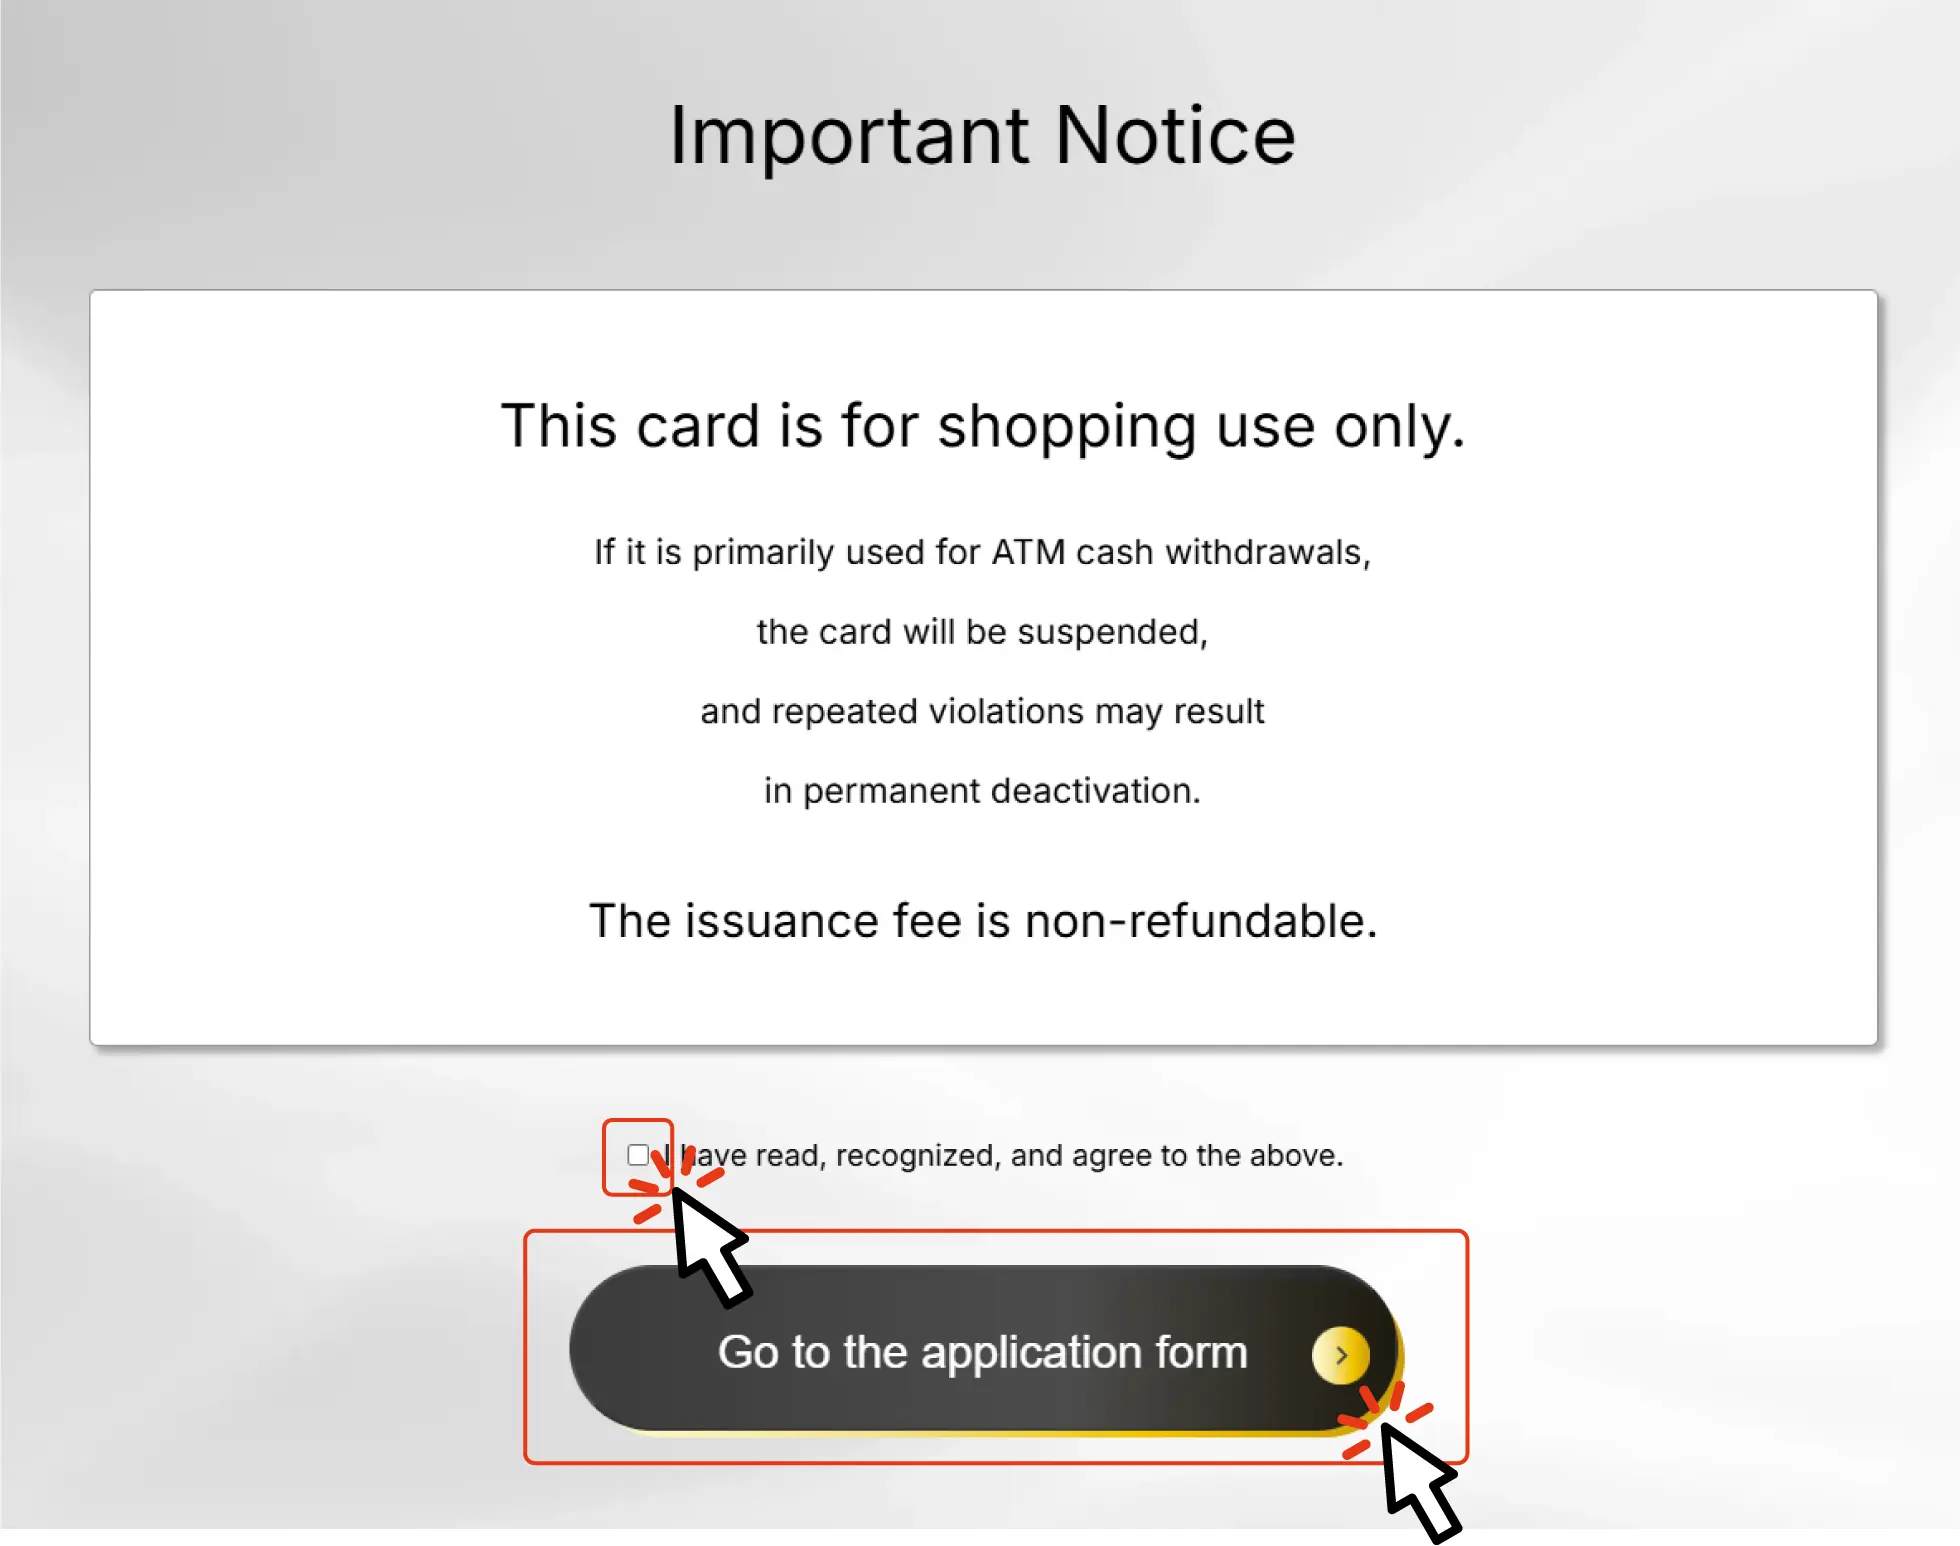
Please read the important notice carefully.
If you agree, check the box and proceed to the next step.
STEP1 Register Now
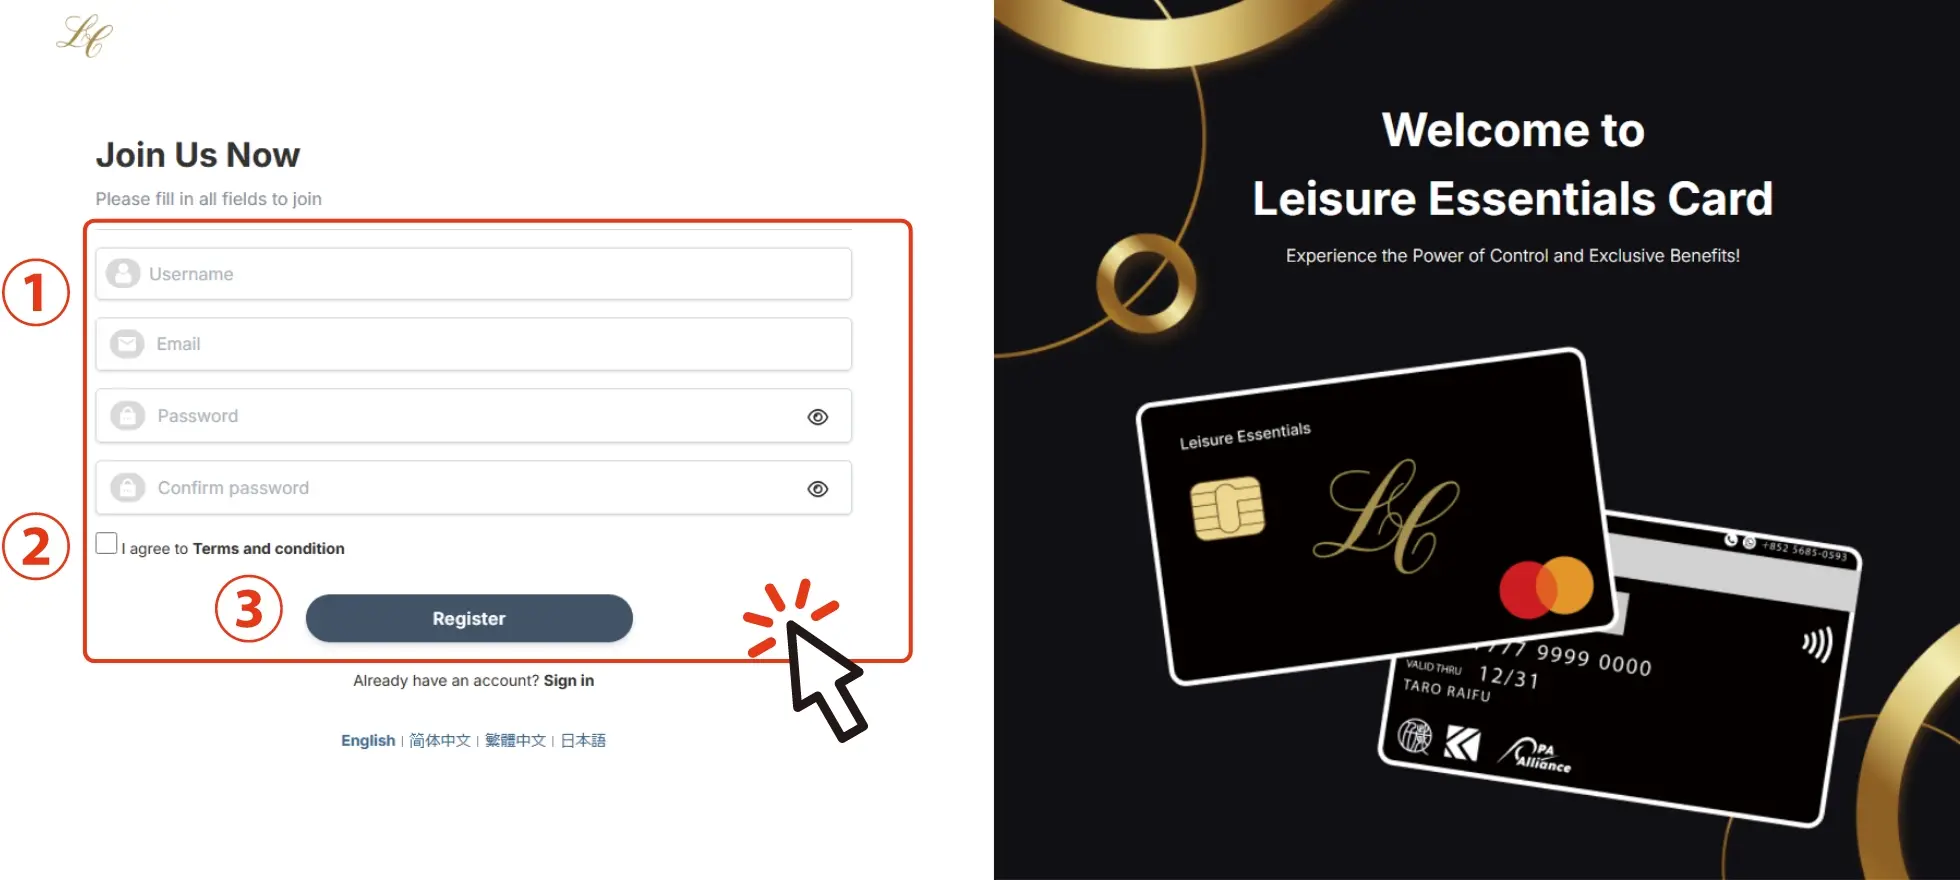
- 1.Please fill in all the required details.
- 2.Agree to the terms and conditions and click to proceed.
- 3.Select "Register" to complete the registration.
As you proceed through the card application screen, the registration form will be displayed.
Enter your username, email address, and password, then click the “Register” button.
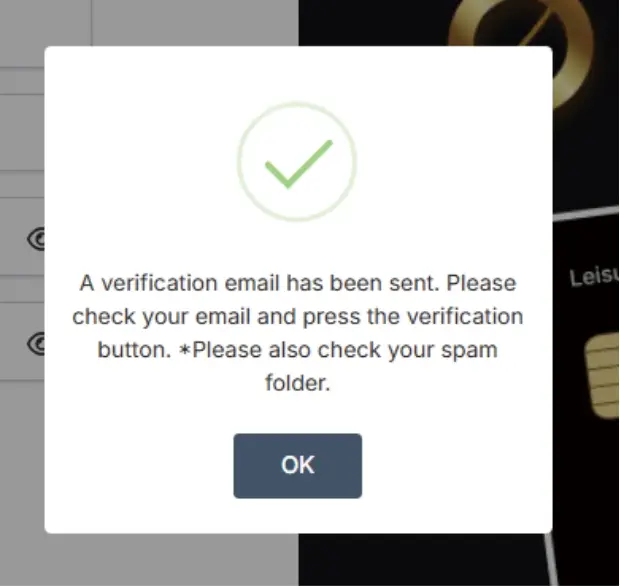
Once registration is complete, a “Email Verification Notification” will be sent to your registered email address.
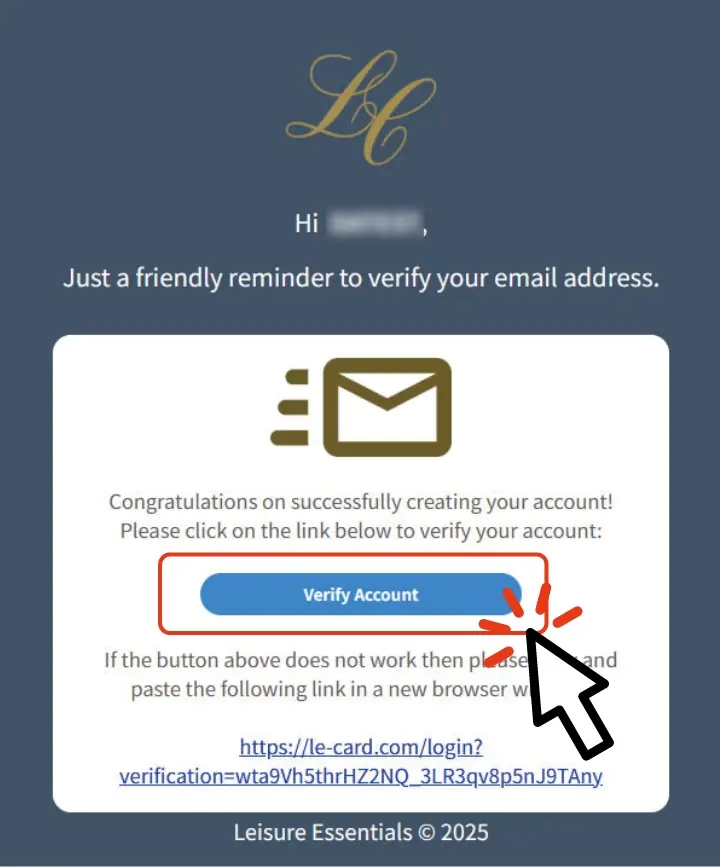
You will receive an email titled “Email Verification Notification.”
Click the verification link in the email to complete the verification process.
※If you do not see the email, please check your spam or junk folder.
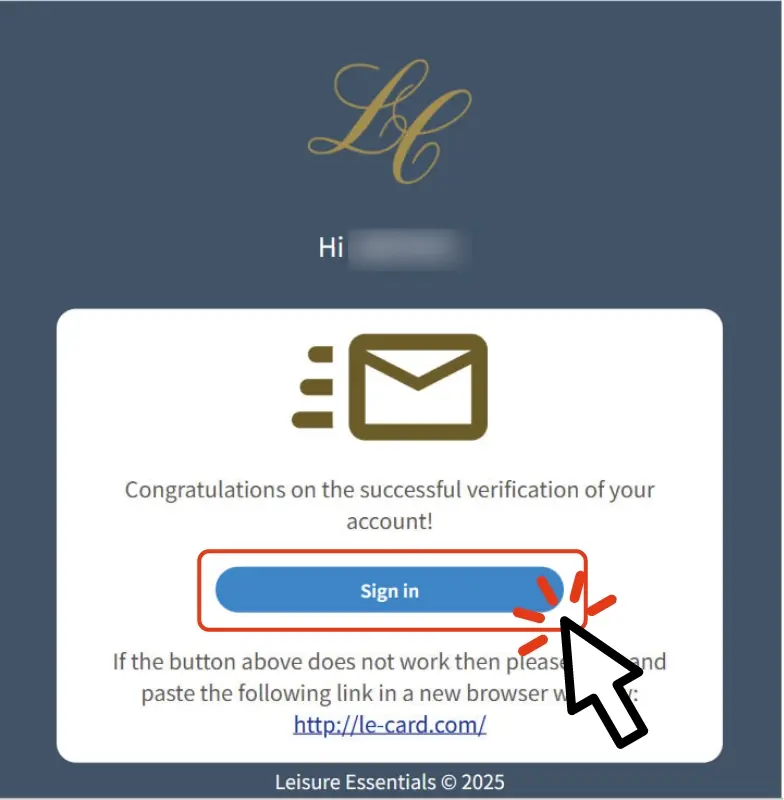
After verification,
you will receive a “Registration Complete Notification.”
Use the sign-in link provided in the email to log in.
STEP2 Register Your Profile
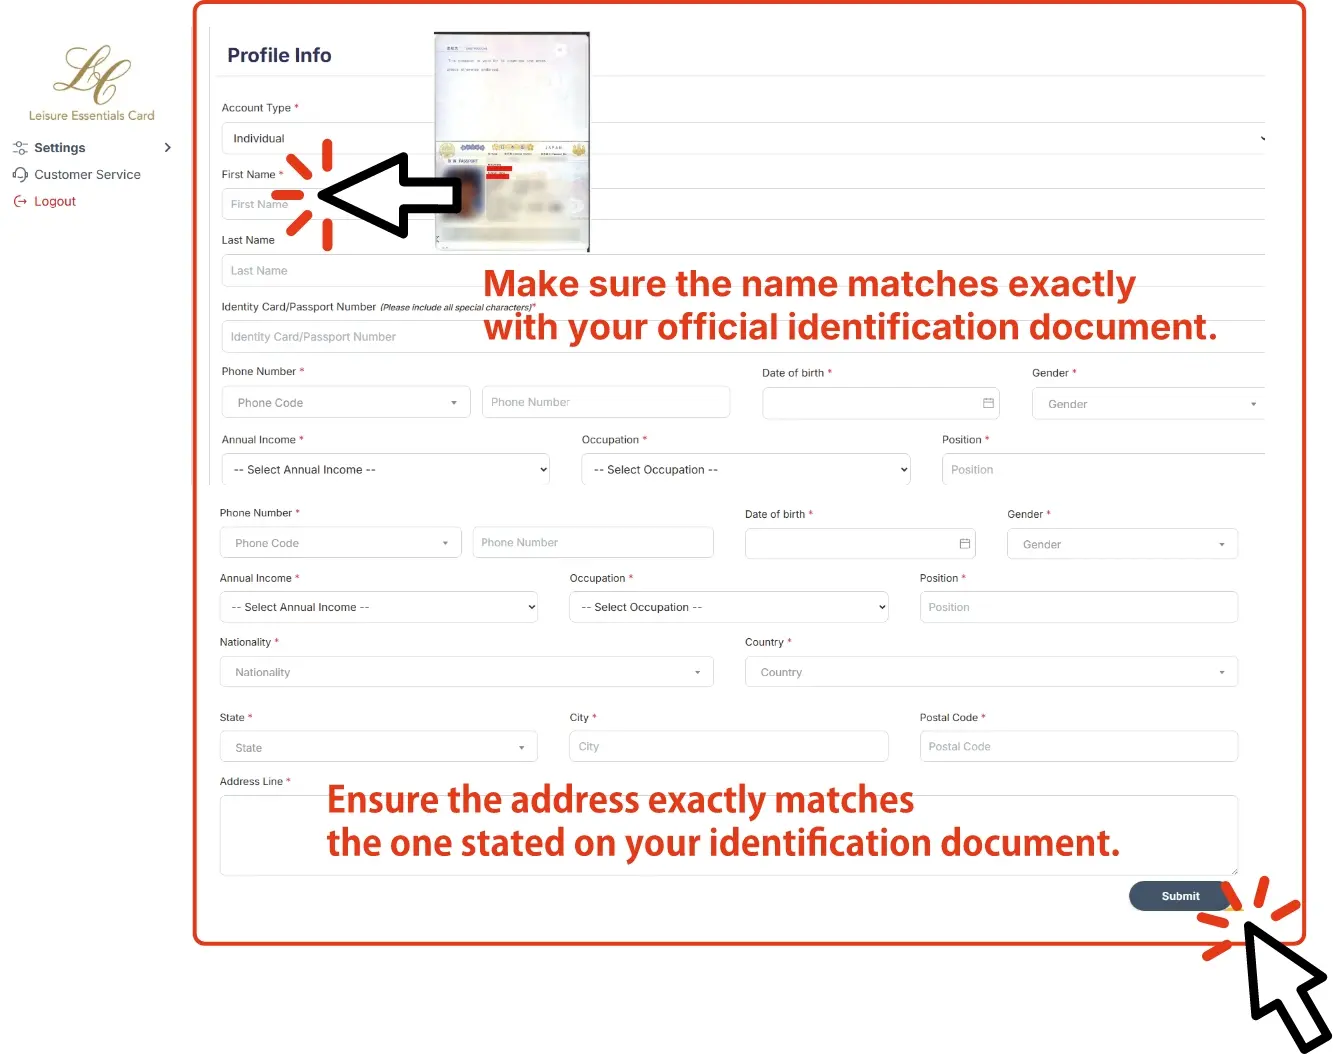
After logging in, the profile registration screen will be displayed.
→ Please fill in all required information and submit the form.
- 1.Enter all required profile information.
- 2.After completing the fields, click the “Submit” button.
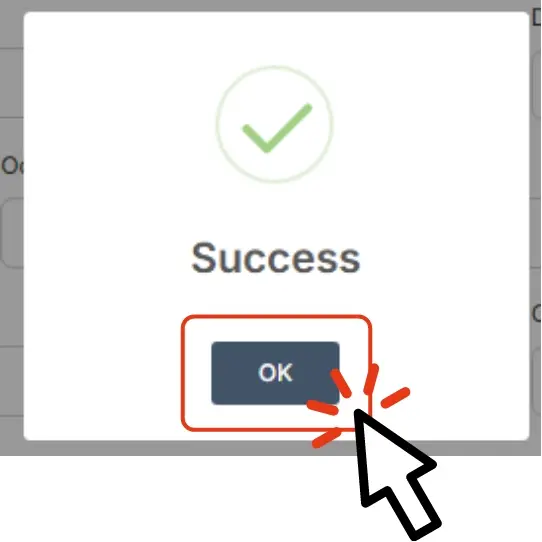
- 3.If submission is successful, a “Success” popup message will appear.
Click “OK” to proceed.
※Note: In the next step (STEP 3), the eKYC (identity verification) screen will appear.
At that time, your name and address will be matched against your ID.
Please enter them in the same format and content as on your official document.
Once all fields are filled and you click “Submit”, a confirmation screen will appear.
Please review it carefully before moving on to the next step.
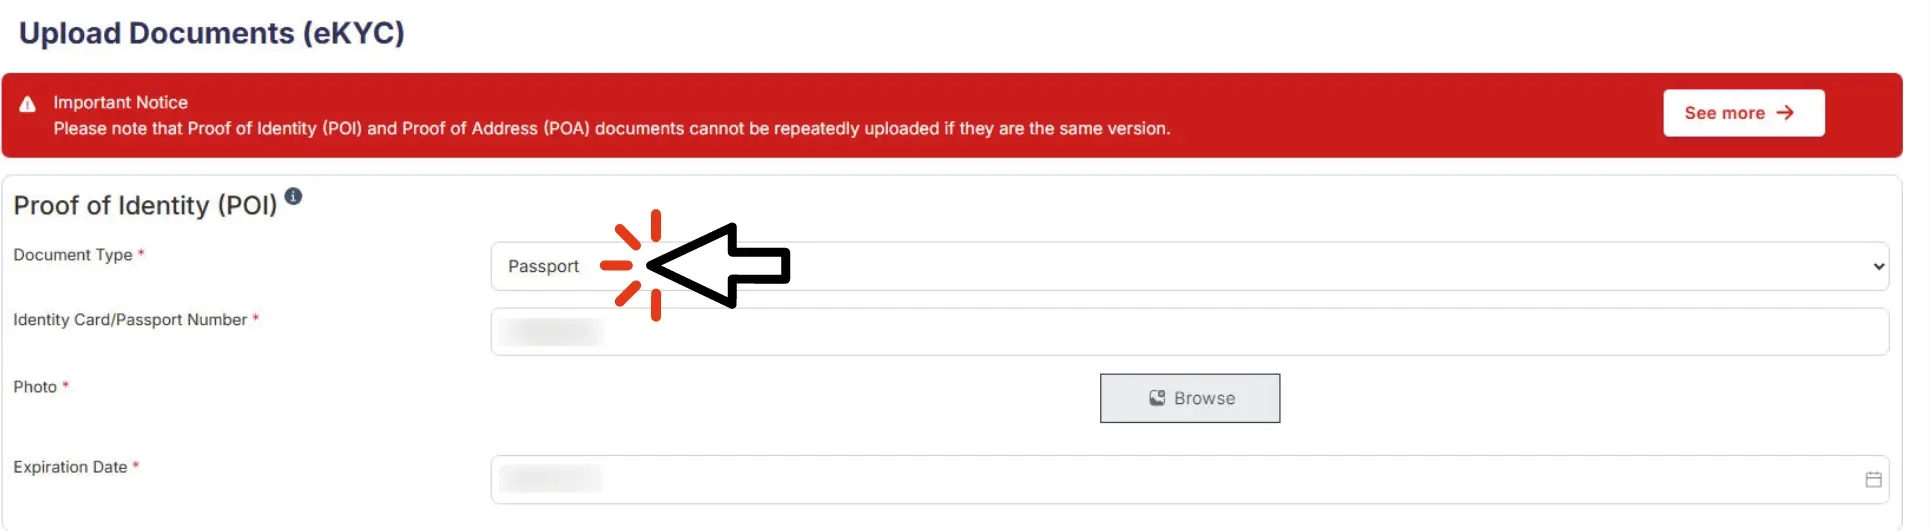
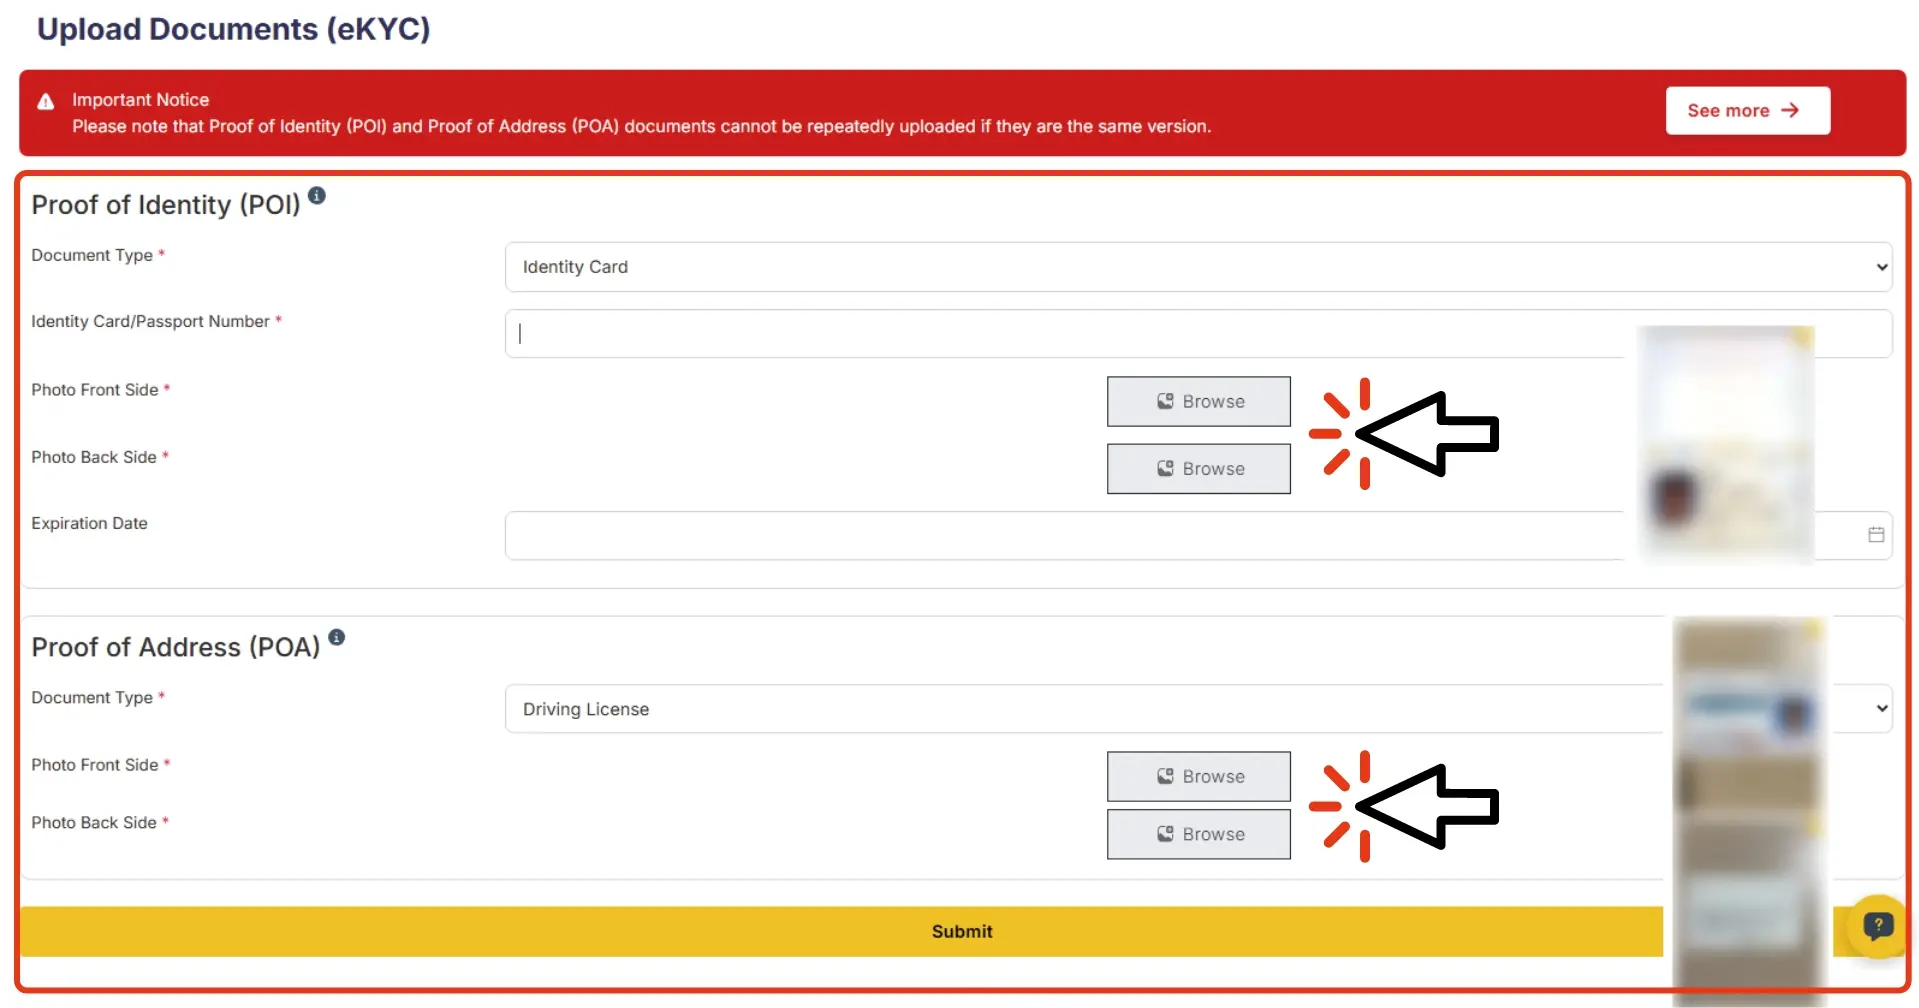
STEP3 Register for eKYC (Identity Verification)
After completing your profile, you will proceed to the eKYC (identity verification) step.
→ Please prepare your ID document and proof of address, then follow the on-screen instructions to enter your information and upload the required files.
■Identity Verification Document (Choose one):
- ・Photo ID (National ID / My Number Card)
- ・Passport
■Proof of Address (Choose one):
- ・Driver’s License
- ・Utility Bill
- ・Bank Statement
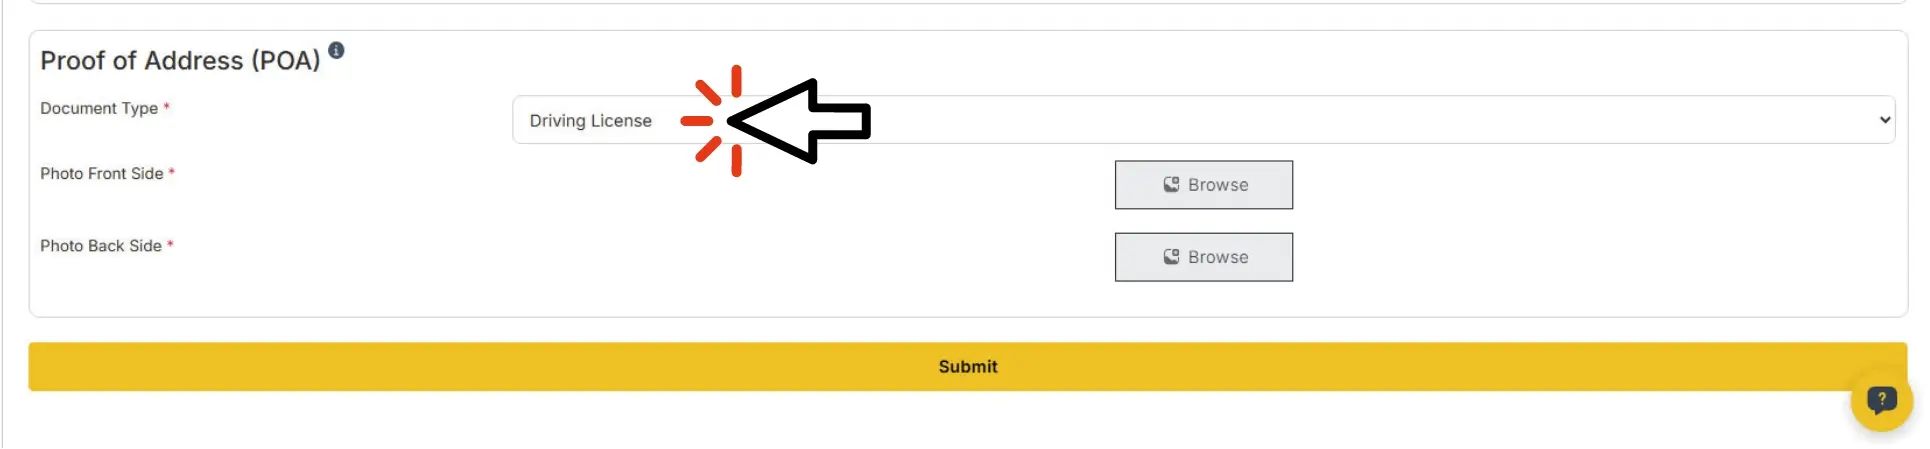
Upload scanned images of each corresponding document.
※Make sure your name exactly matches the format shown on your ID.
Also confirm that the address you enter exactly matches the one listed on your ID.
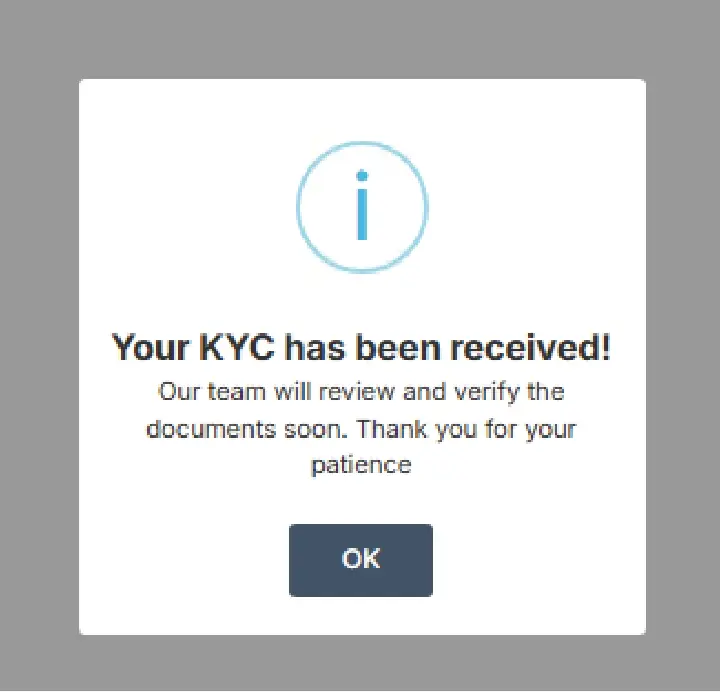
Once your documents are uploaded, they will be reviewed and verified by an administrator.
Please wait while the approval is being processed.
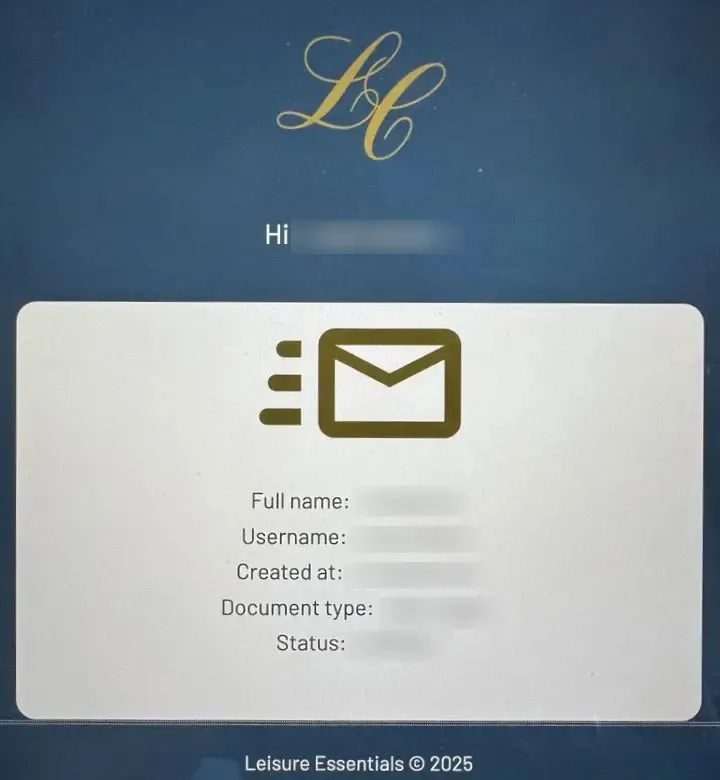
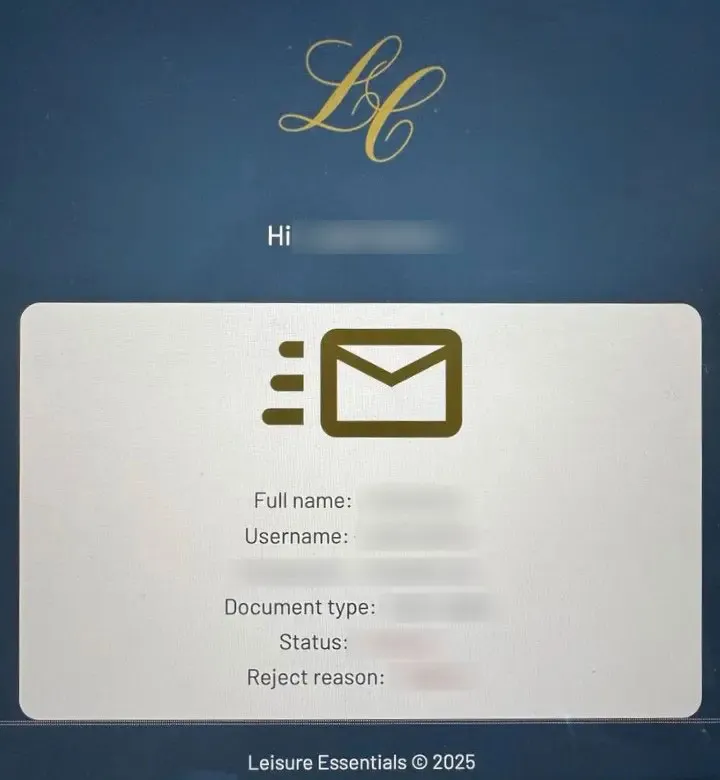
After eKYC is approved, the system will notify you whether your KYC has been approved or rejected.
If rejected, the reason will also be shown, so please check the message accordingly.
STEP4 Order Your Card
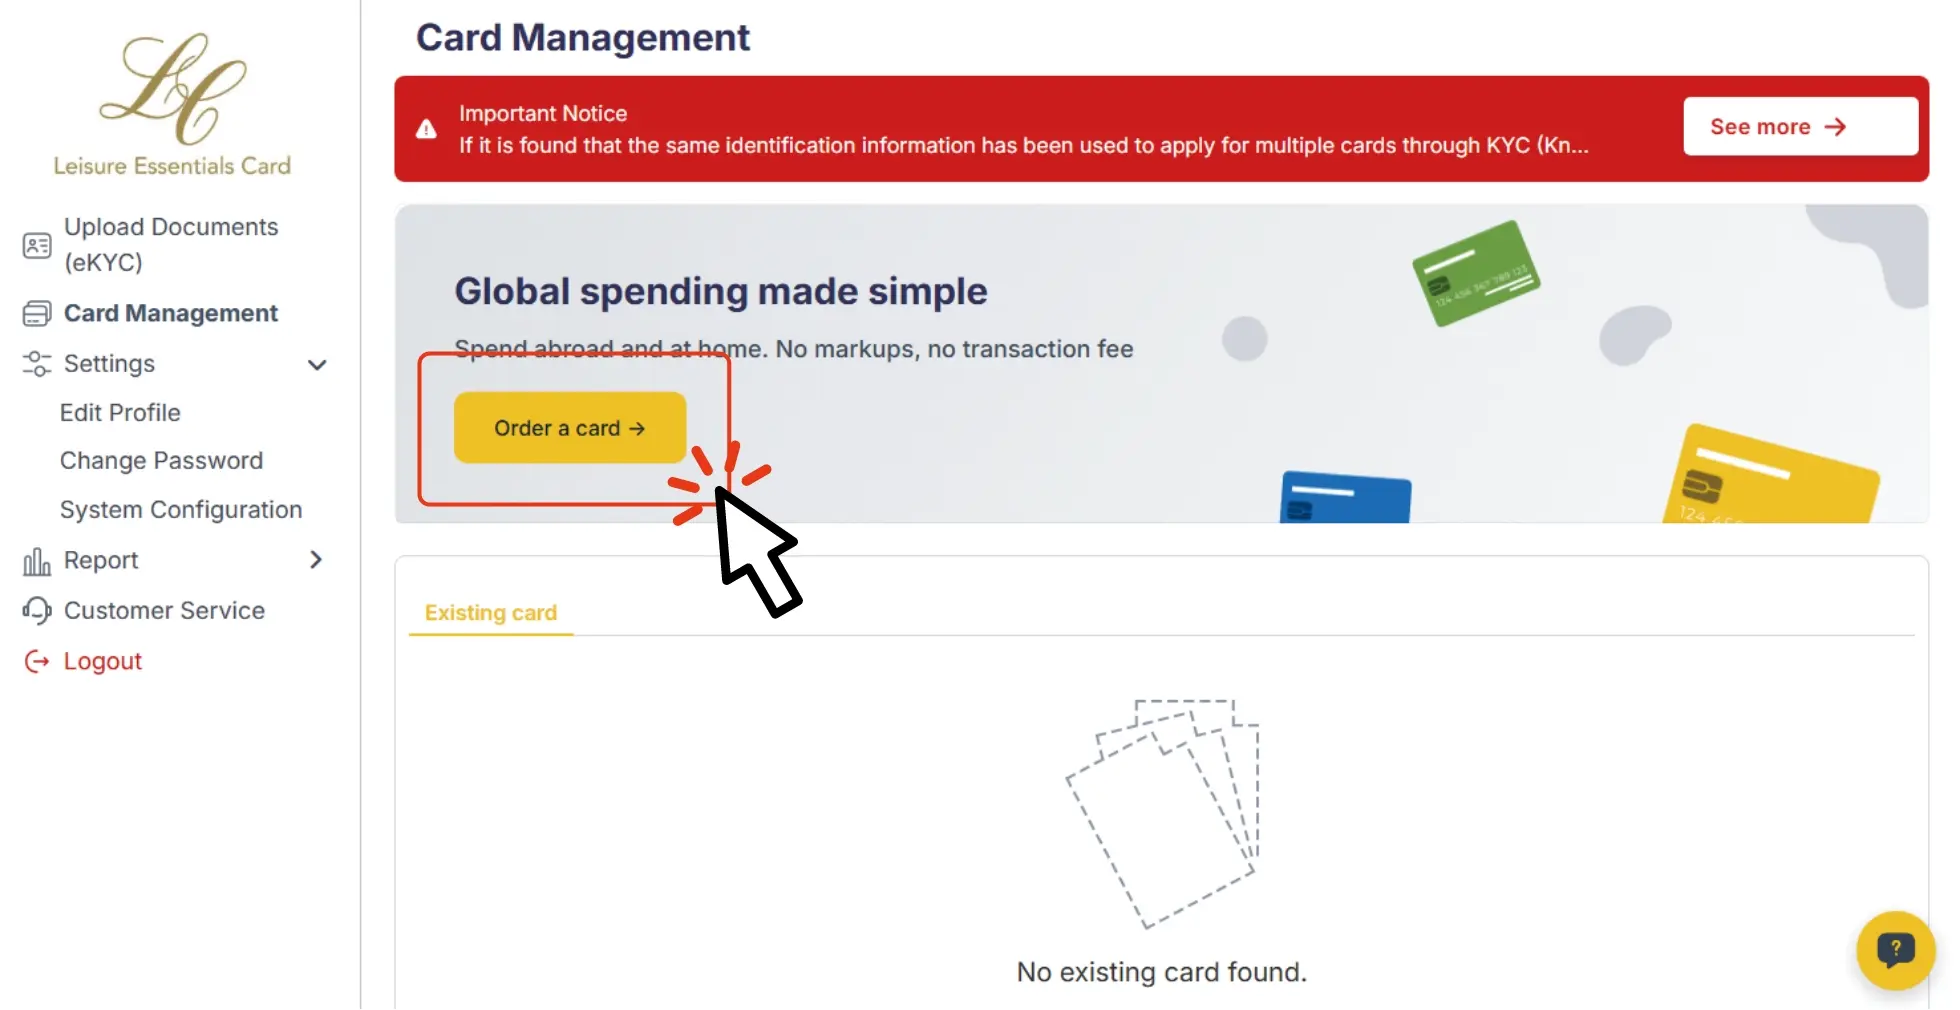
Once your eKYC verification is complete, the card ordering screen will appear in your dashboard.
Click “Order Card” to proceed.
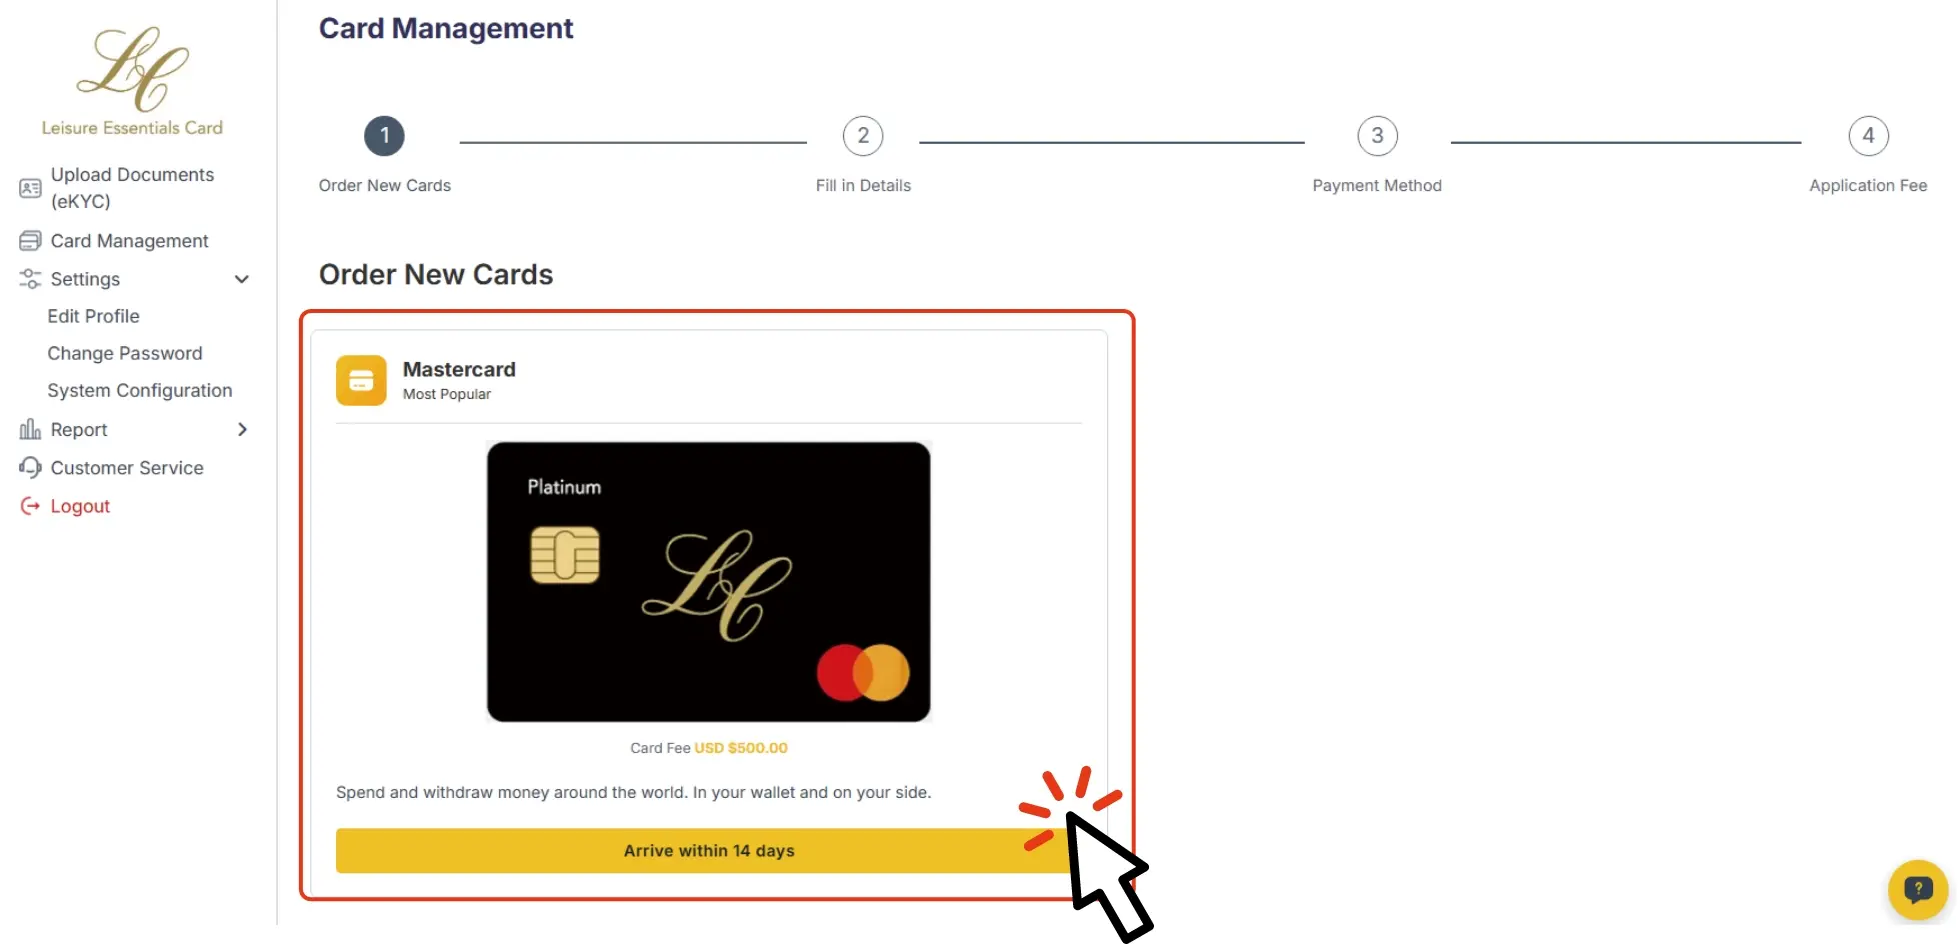
Select your card.
Please enter the card name, select the currency, and provide the delivery address.
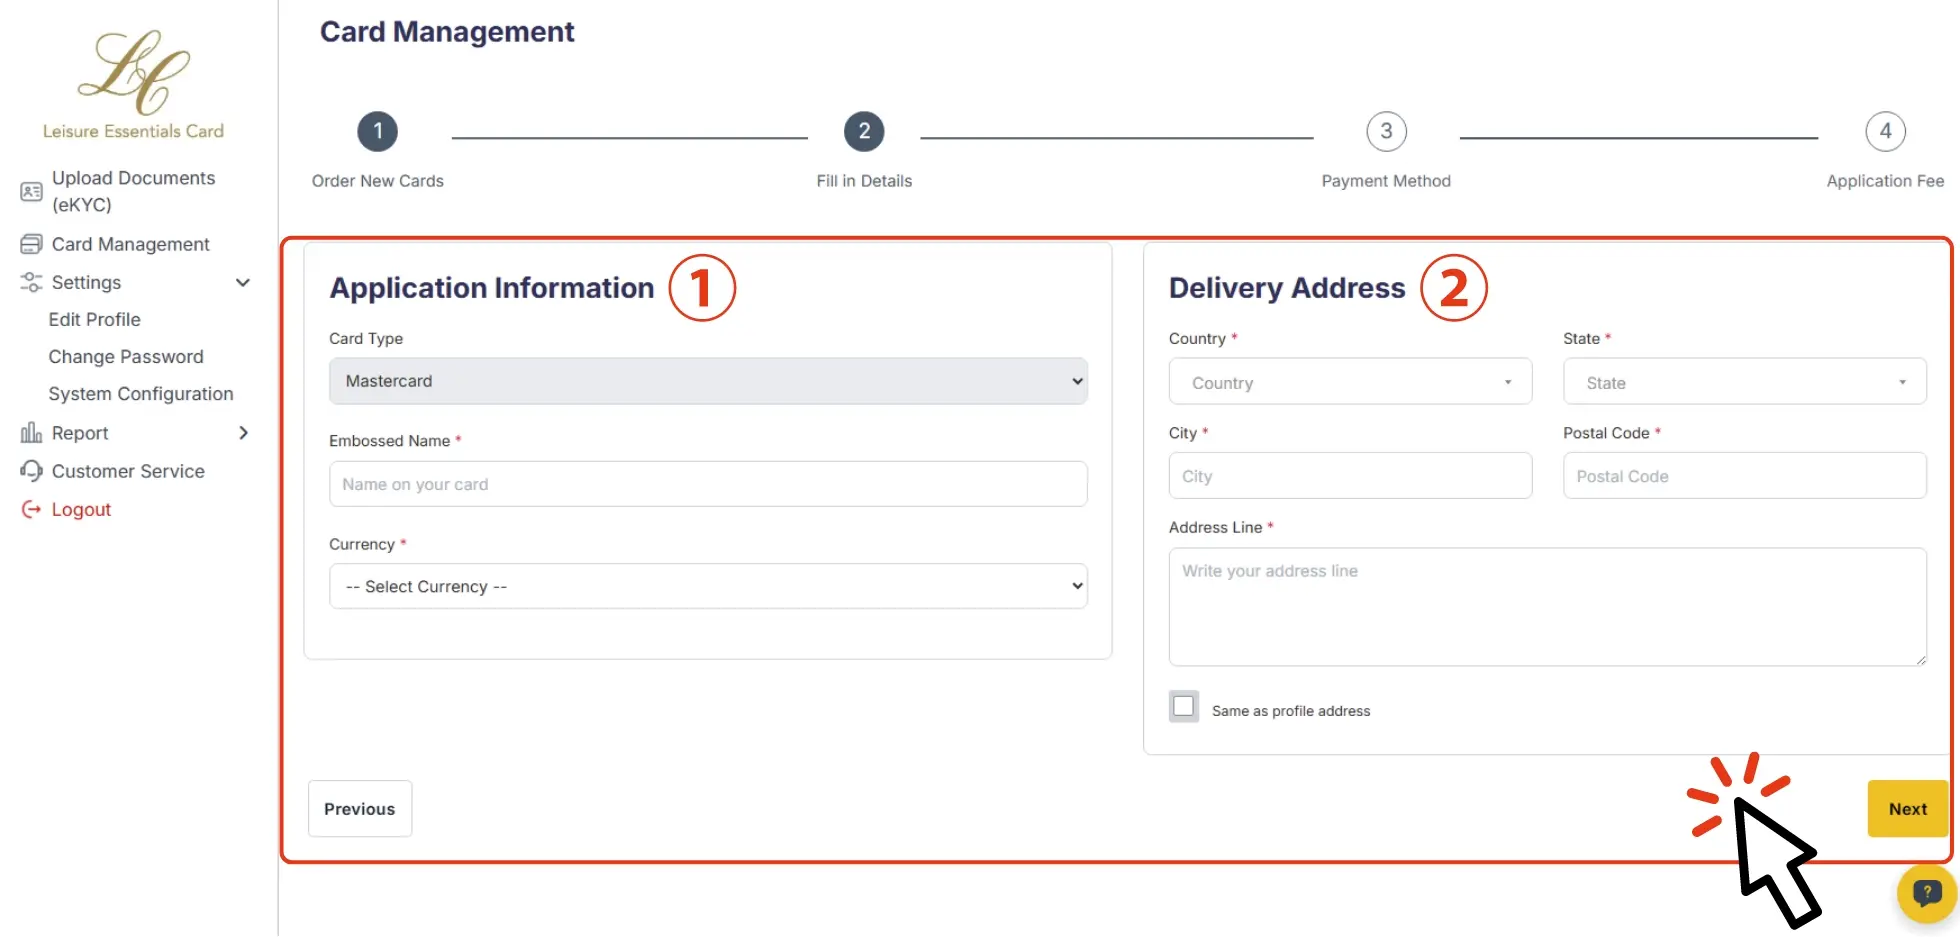
- 1.Please enter the card name and select the currency.
- 2.Please enter the delivery address for the card.
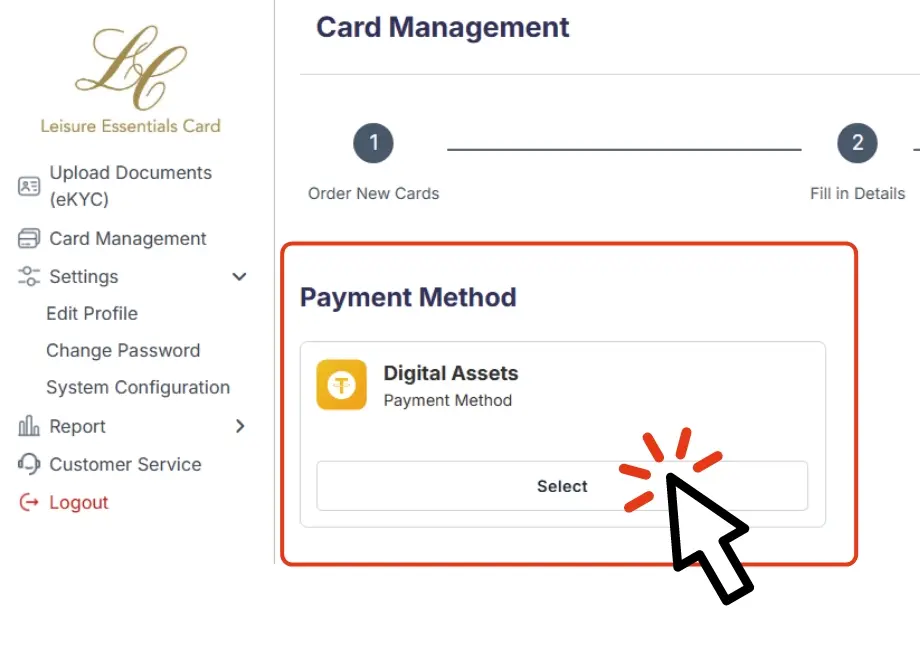
Please select your payment method.
The terms and conditions will be displayed.
Please review the content and click "Agree" to proceed.
Please select the network to be used for the transaction.
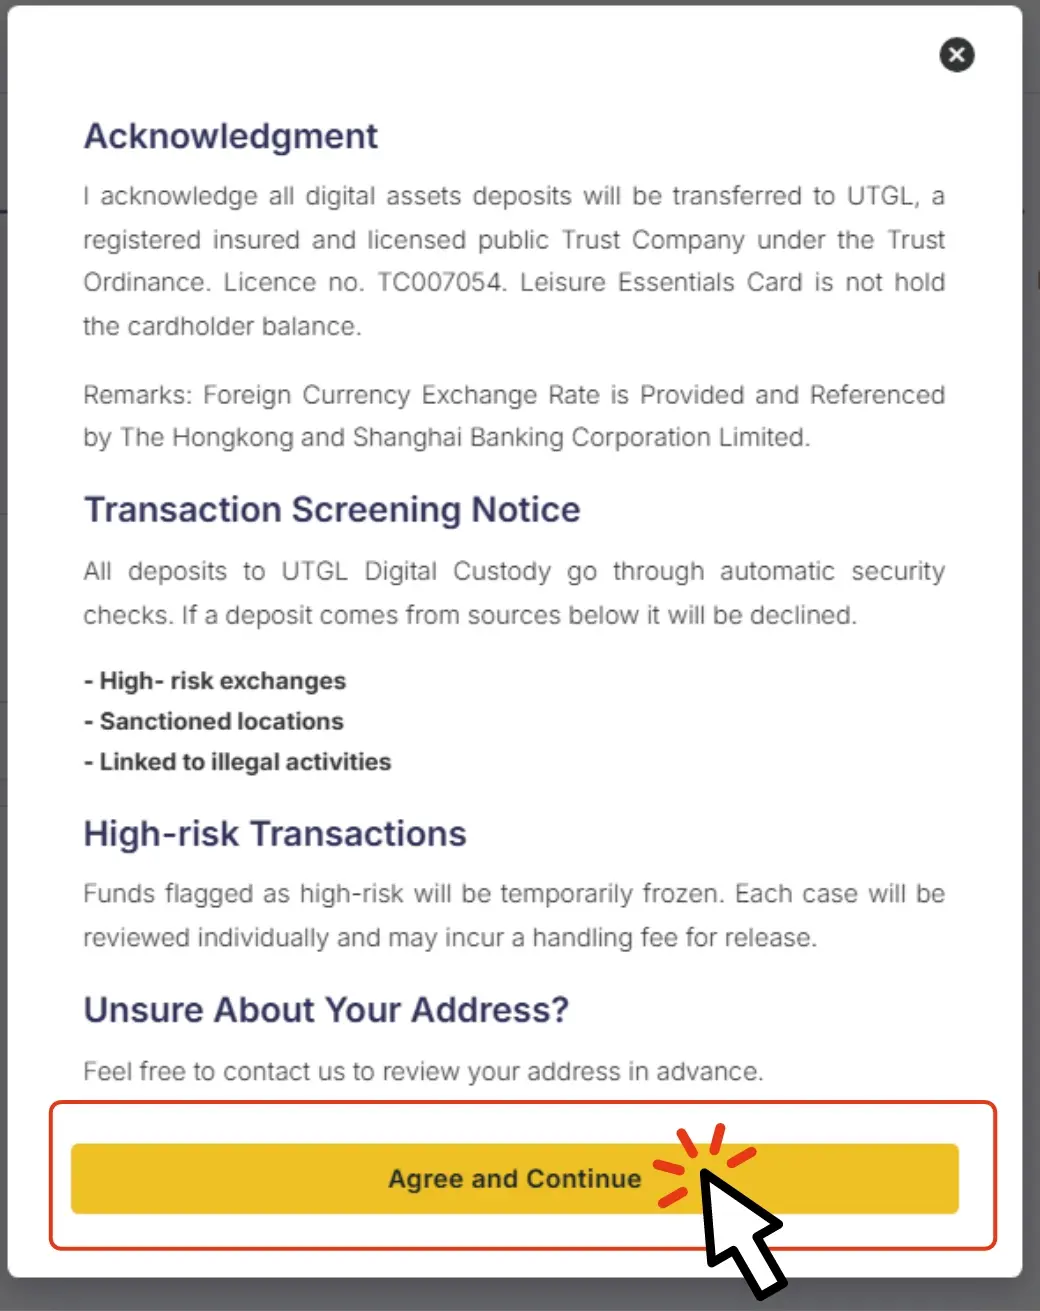
Review the terms and conditions,
and click “Agree” to proceed.
Begin the Payment Process
1.Check the wallet address and prepare the Card Fee.
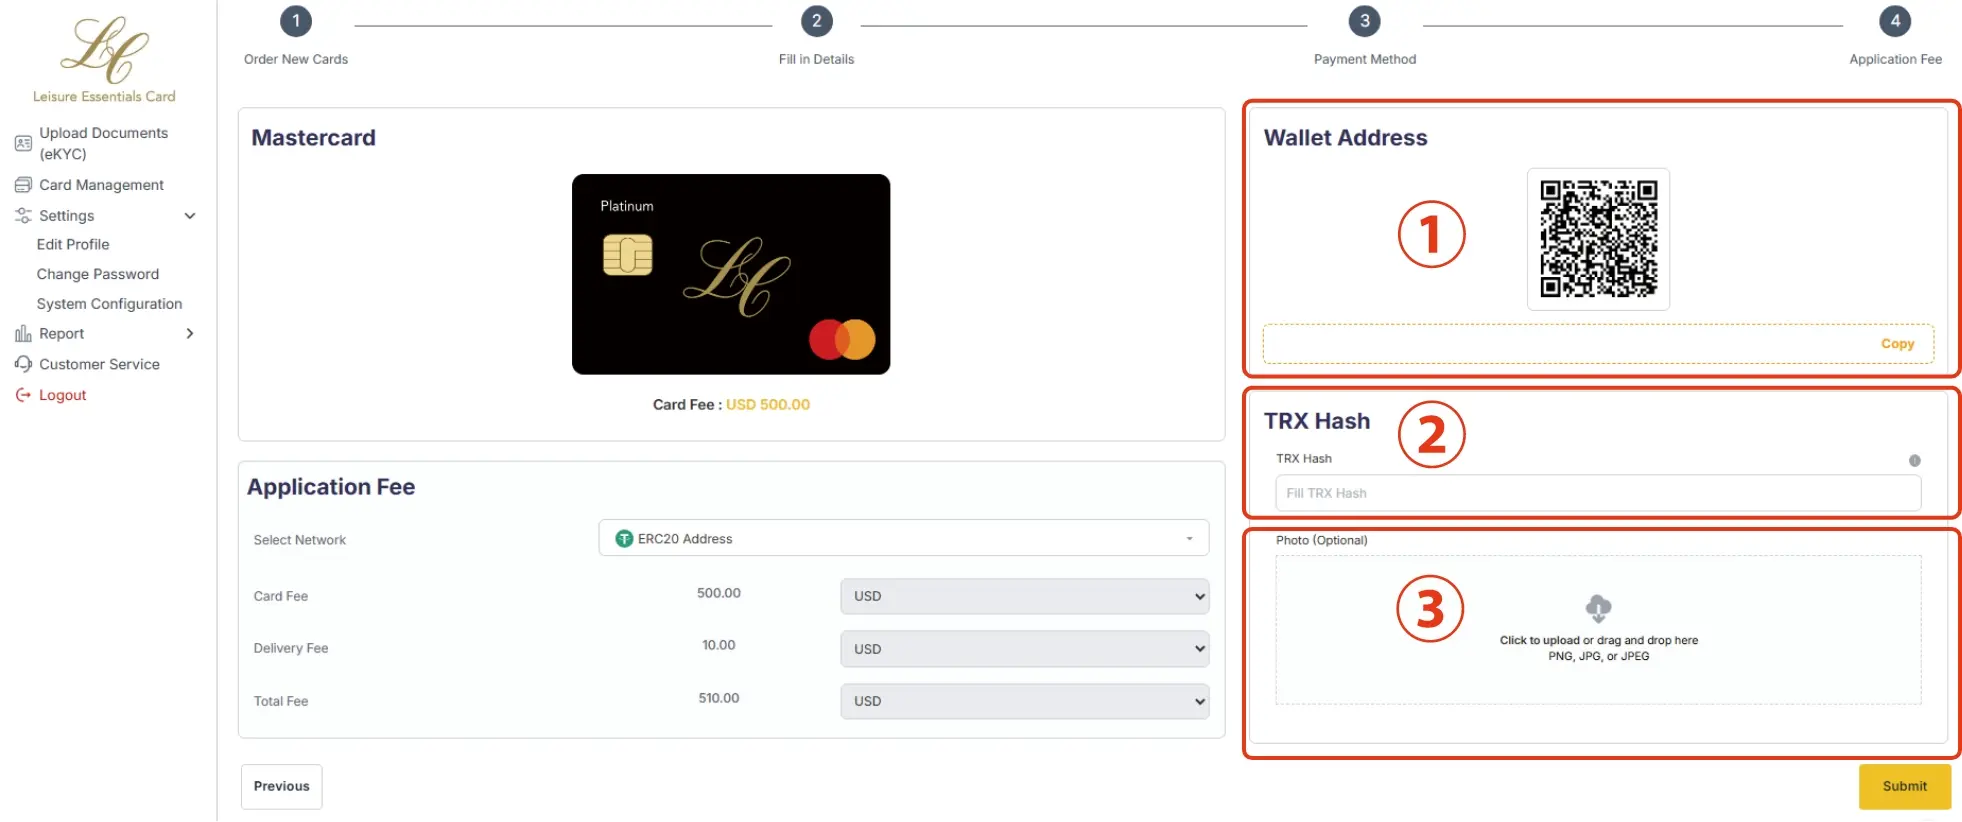
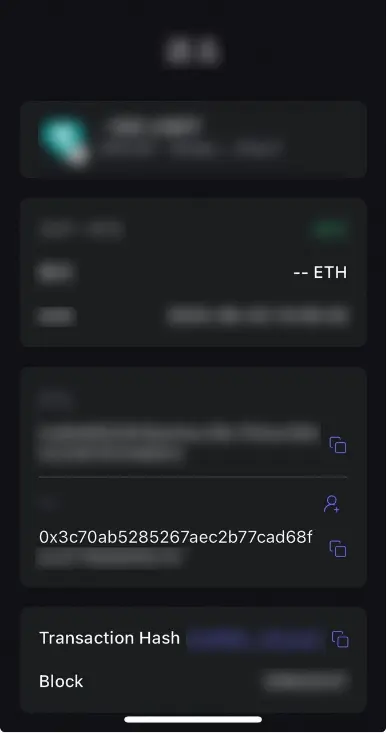
- 2. Enter the TRX transaction hash.
※The TRX hash is a "transaction ID" automatically generated when you send cryptocurrency (such as USDT).
By submitting this ID, our team can verify whether the transfer has been successfully completed. To avoid any transfer issues, please make sure to copy and submit it accurately. - 3. Take a screenshot of the completed transaction and upload the image.
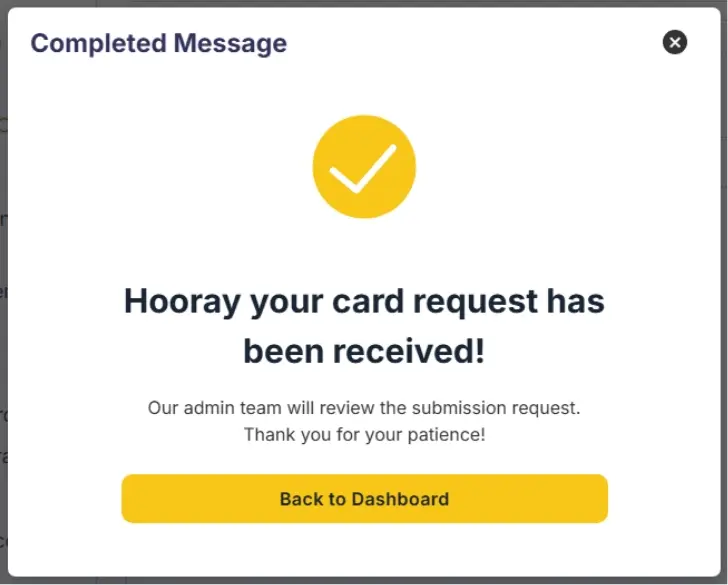
Once submitted, the process is considered complete.
Your card request will be received and reviewed by the management team. Once confirmed, the card will be processed for shipment. Delivery will take approximately 14 days after confirmation. Thank you for your patience while the card is being delivered.
【After Receiving Your Card】
How to Add Funds, Check Balance,
and View Transaction History
【How to Add Funds to Your Card】
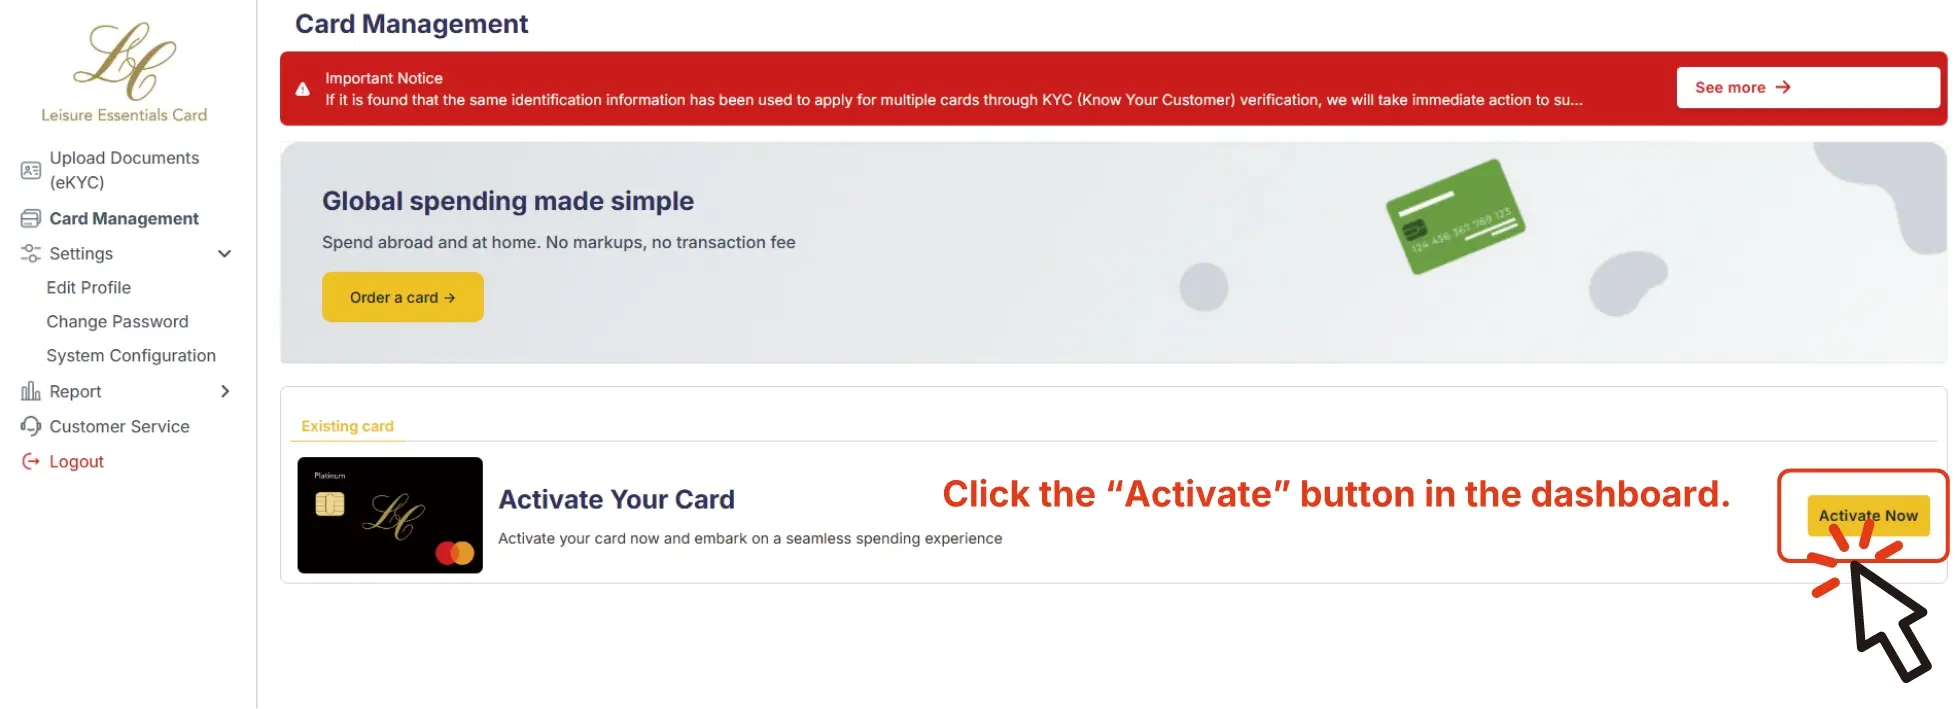
STEP1 Activate Your Card
Once your card has arrived, please log in to the dashboard and activate your card.
Important: Do not activate the card until you have received it.
Activating a card that is not in your possession may lead to unauthorized use.
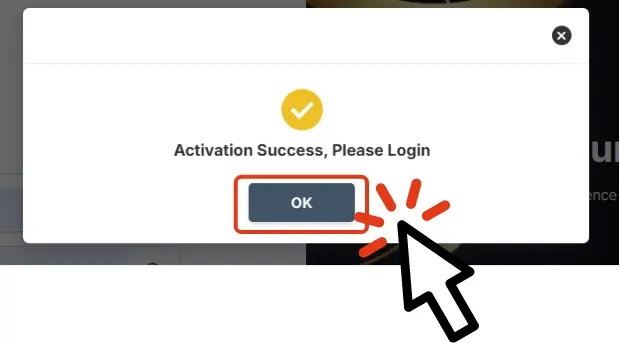
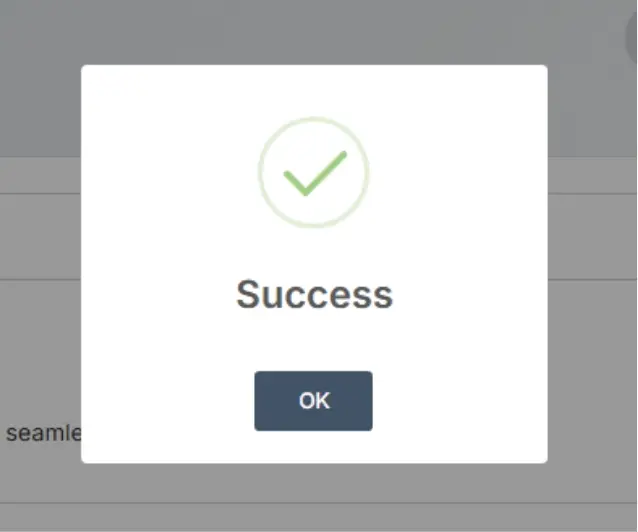
Once the activation is complete,
a "Success" message will be displayed.
After that, click "OK" to access the dashboard and confirm that your card has been
successfully activated.
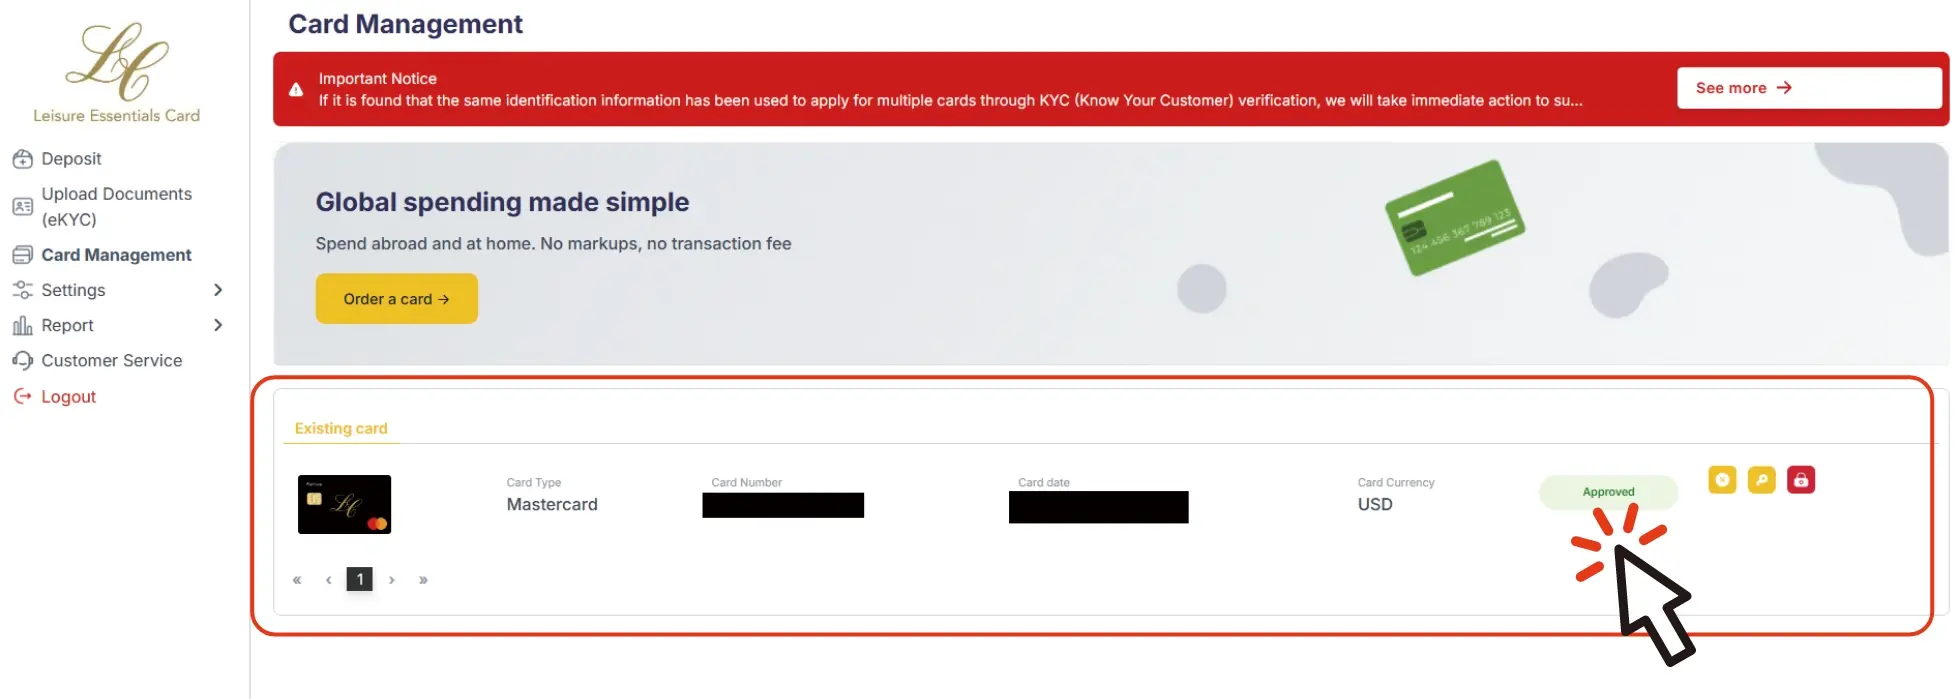
If you see the word “Approved” in green on the right side of the screen,your card has been successfully activated.
STEP2 Add Funds to Your Card
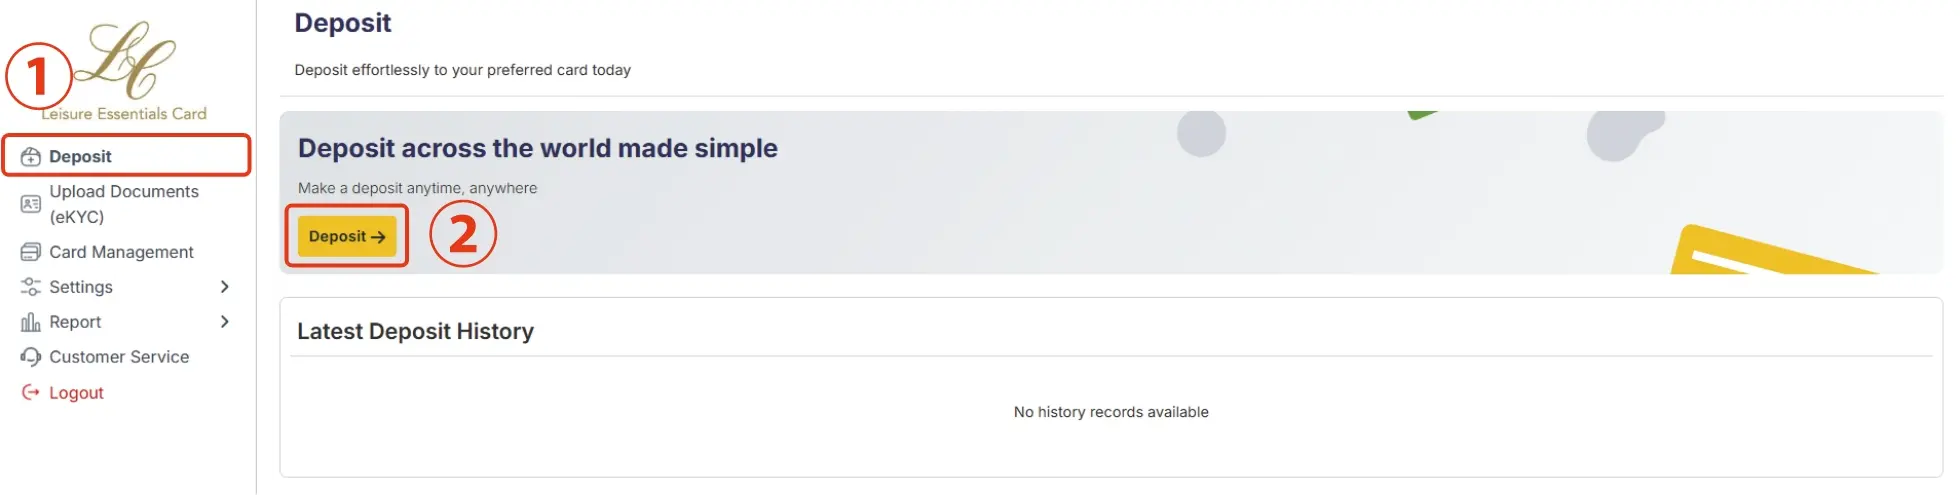
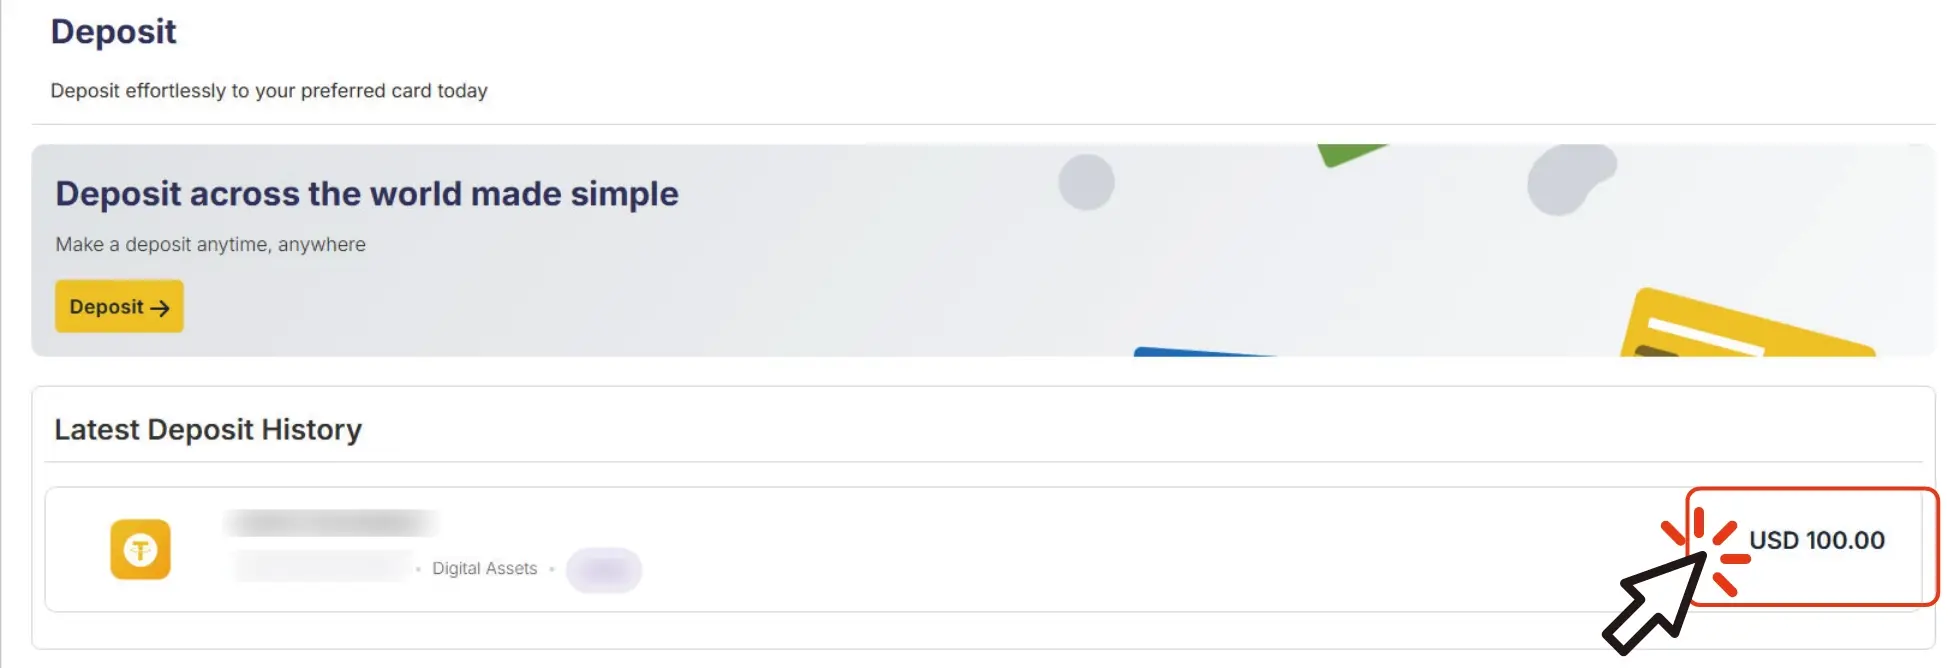
Deposits can be made from the “Deposit” section in the top-left menu of your dashboard.
- 1.Click “Deposit” in the top-left corner of the menu.
- 2.Click the “Deposit” button in the center of the screen.
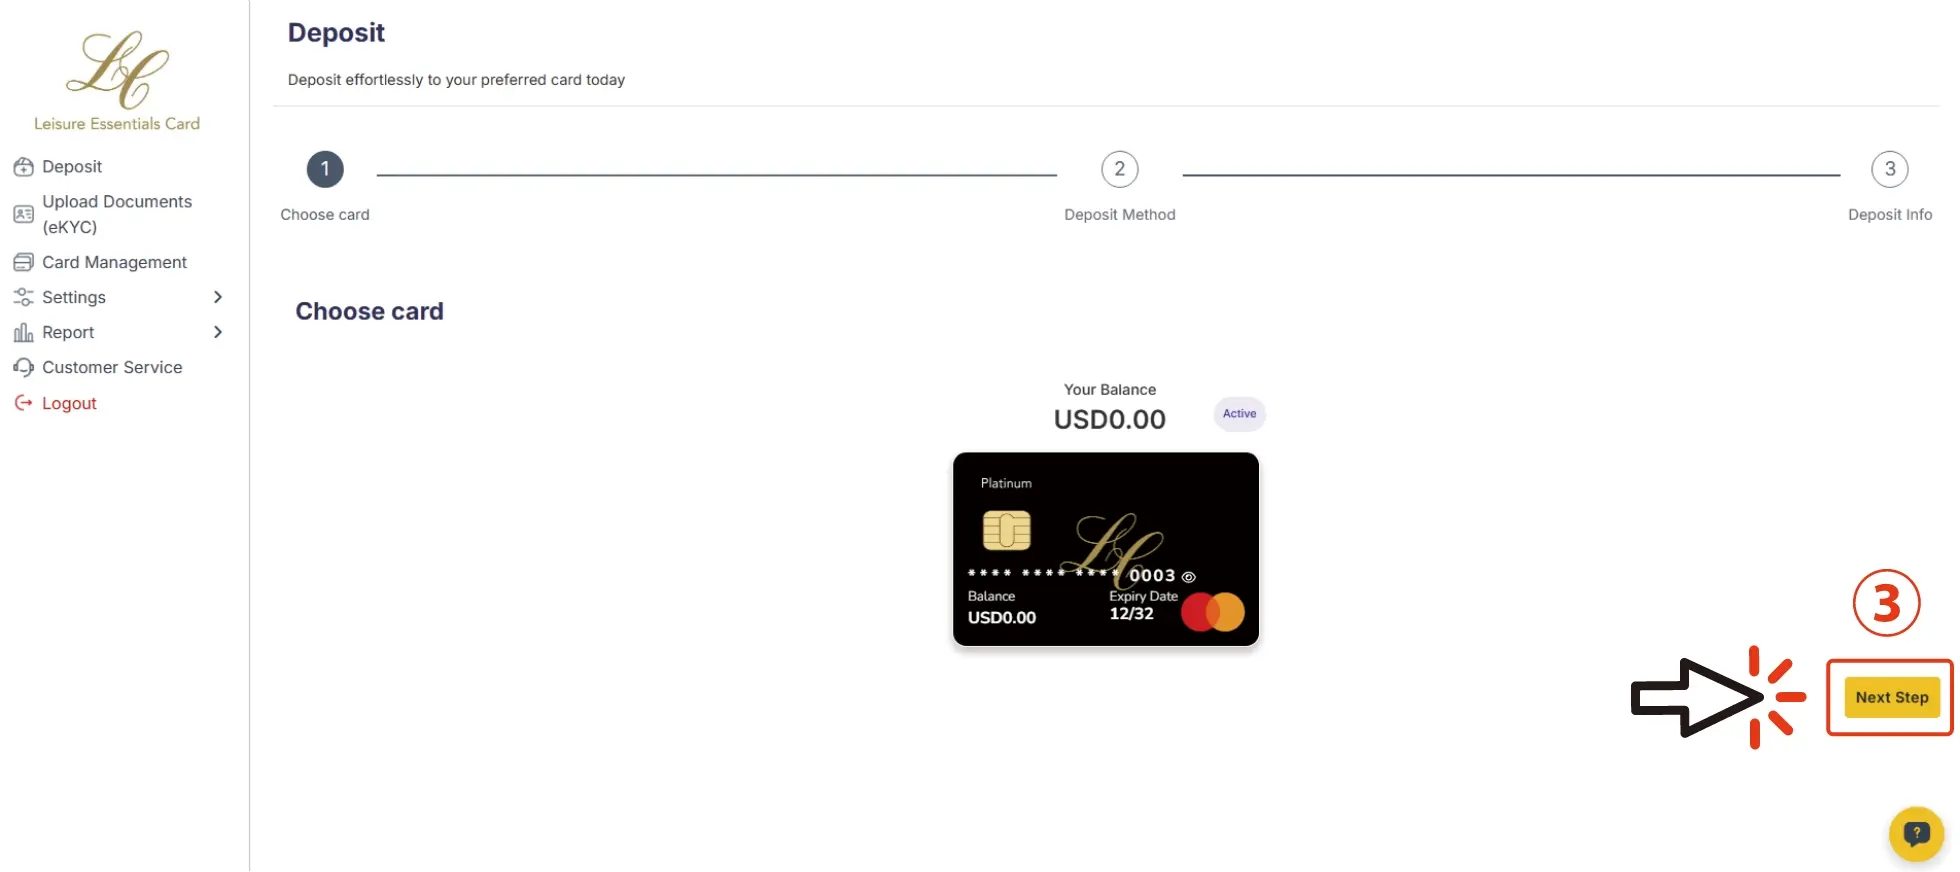
3.Select your desired card, then click “Next Step” in the bottom-right corner.
- 4.Choose your preferred deposit method.
- 5.Select your preferred network (e.g., “TronScan”) and proceed.
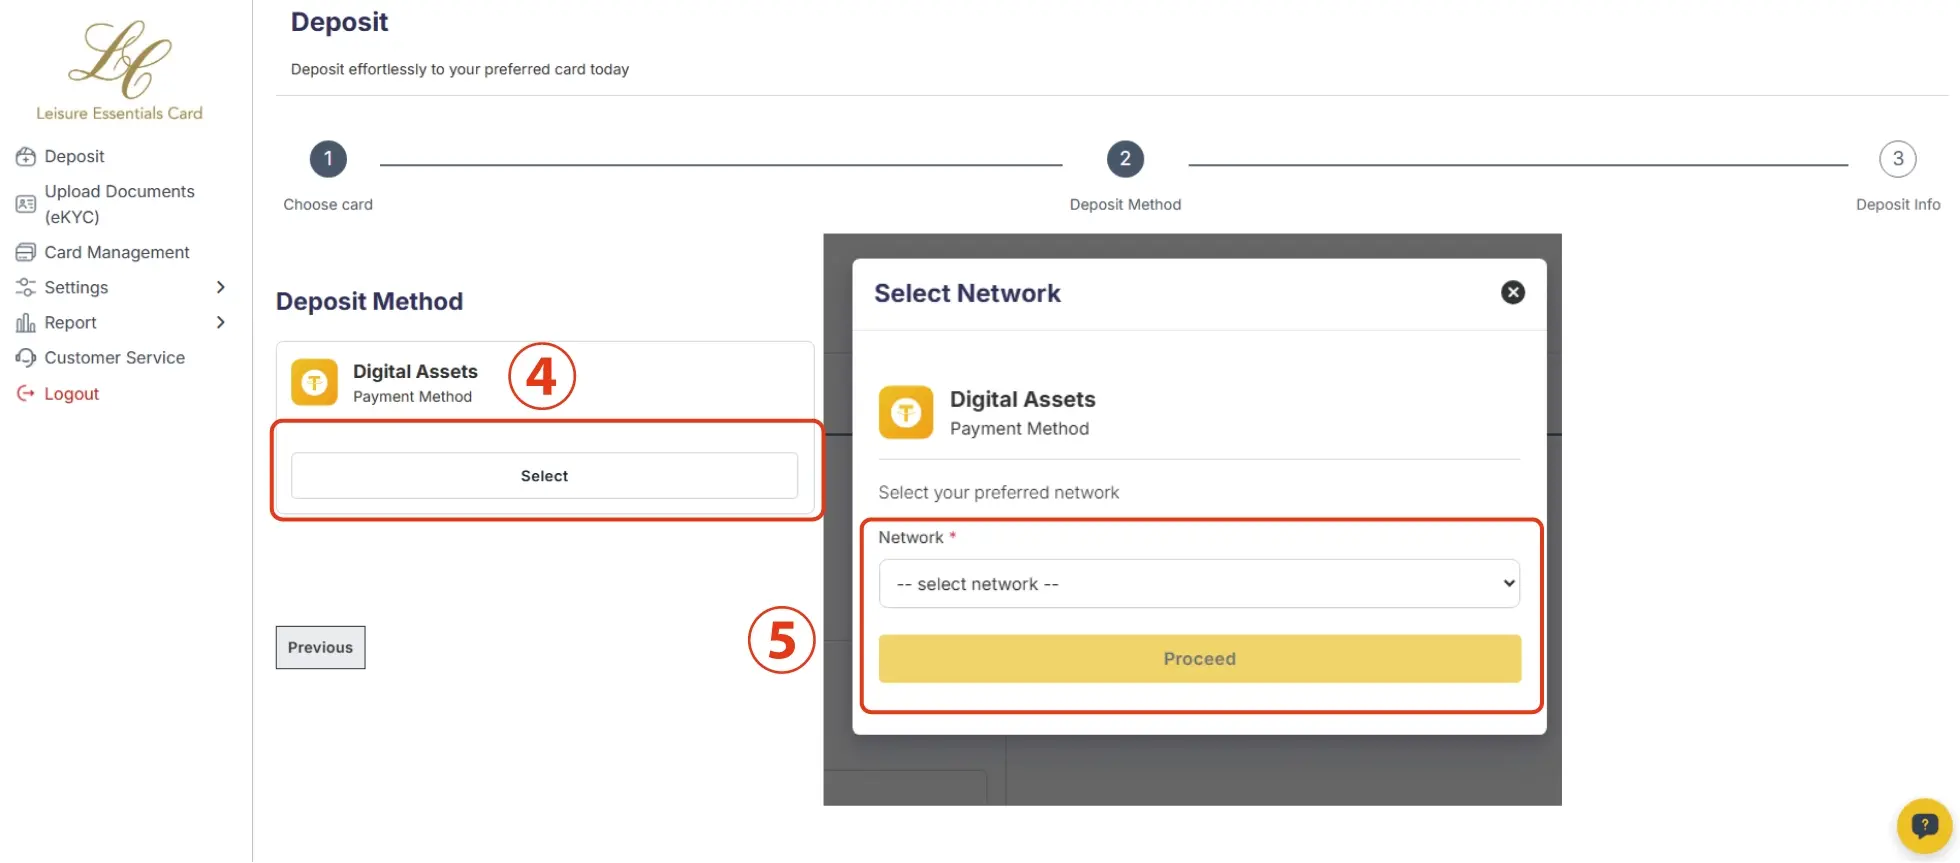
You may now begin the payment process.
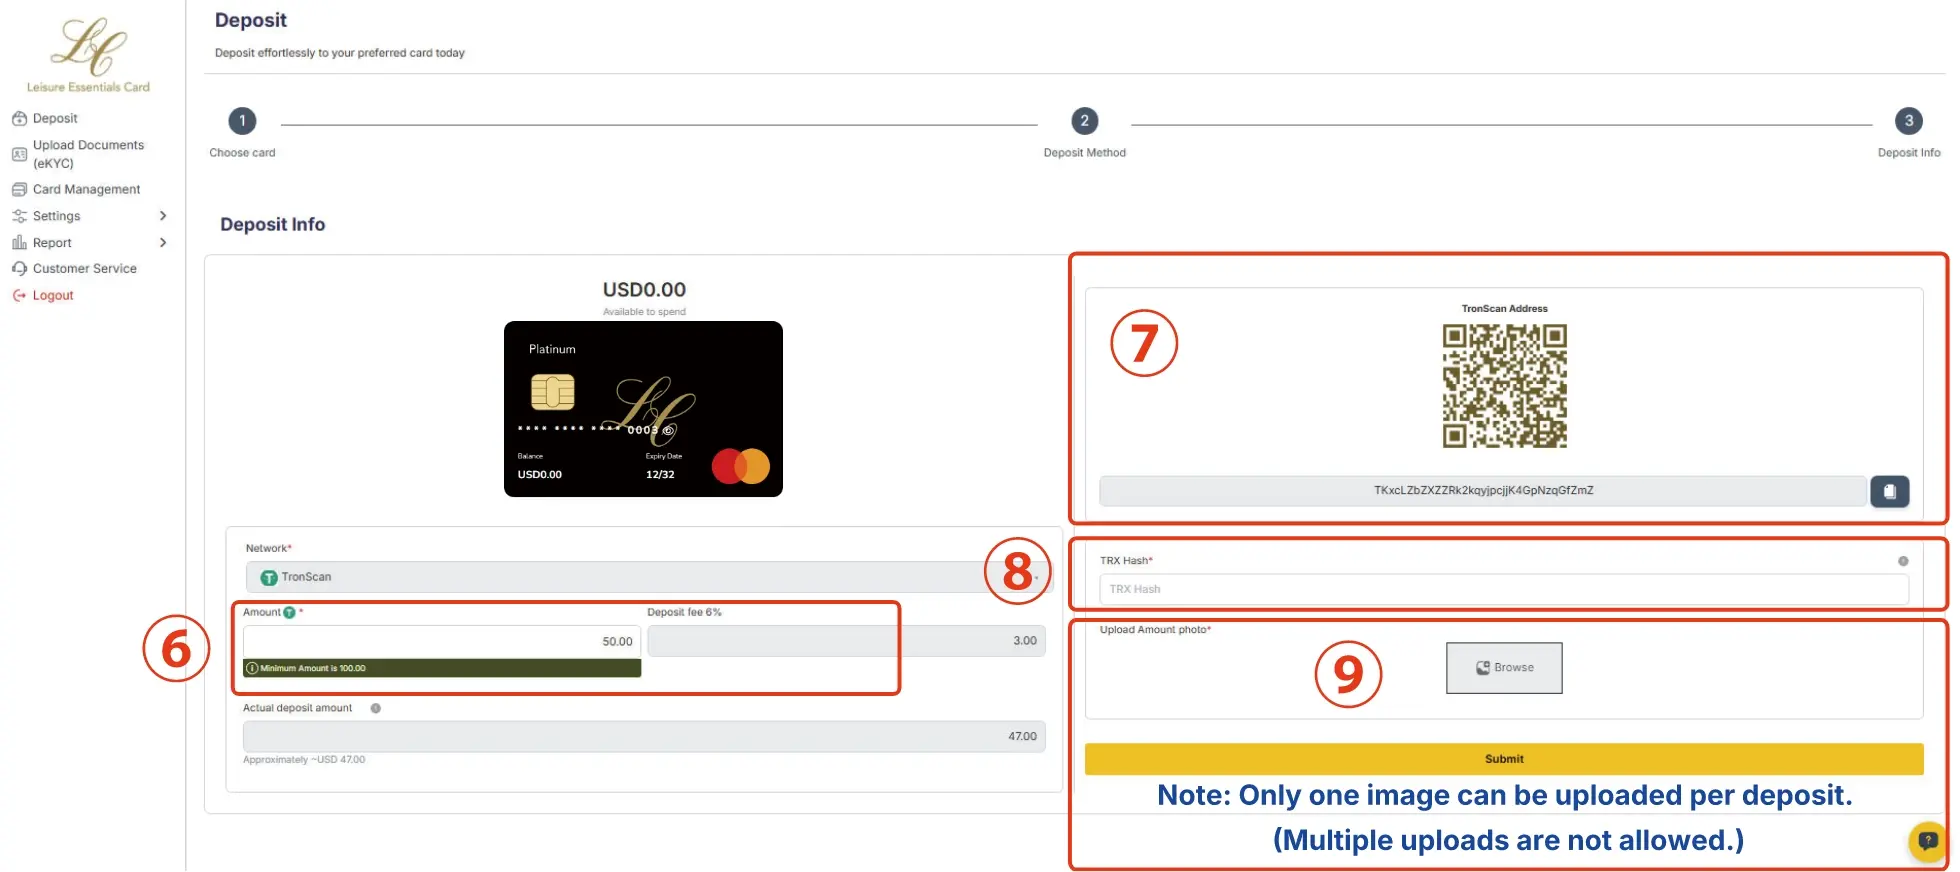
- 6.Enter the deposit amount (Minimum: USD 100.00).
- 7.Check the wallet address and complete the transfer.
- 8.Enter the TRX hash of the transaction.
※The TRX hash is a "transaction ID" automatically generated when you send cryptocurrency (such as USDT).
By submitting this ID, our team can verify whether the transfer has been successfully completed.
To avoid any transfer issues, please make sure to copy and submit it accurately. - 9.Take a screenshot of the completed transfer screen and upload the image.
Only one image can be uploaded per transaction.
Be sure to double-check that the amount you are sending exactly matches the requested amount before making the transfer.
If the Transferred Amount Does Not Match the Requested Amount
If the transferred amount does not match the requested amount,
the transaction will be marked as “Pending.”If the status becomes “Pending,” you will need to contact support to cancel the transaction.
To avoid delays, always send the exact requested amount.If additional funds are required, please restart the deposit process from the beginning.
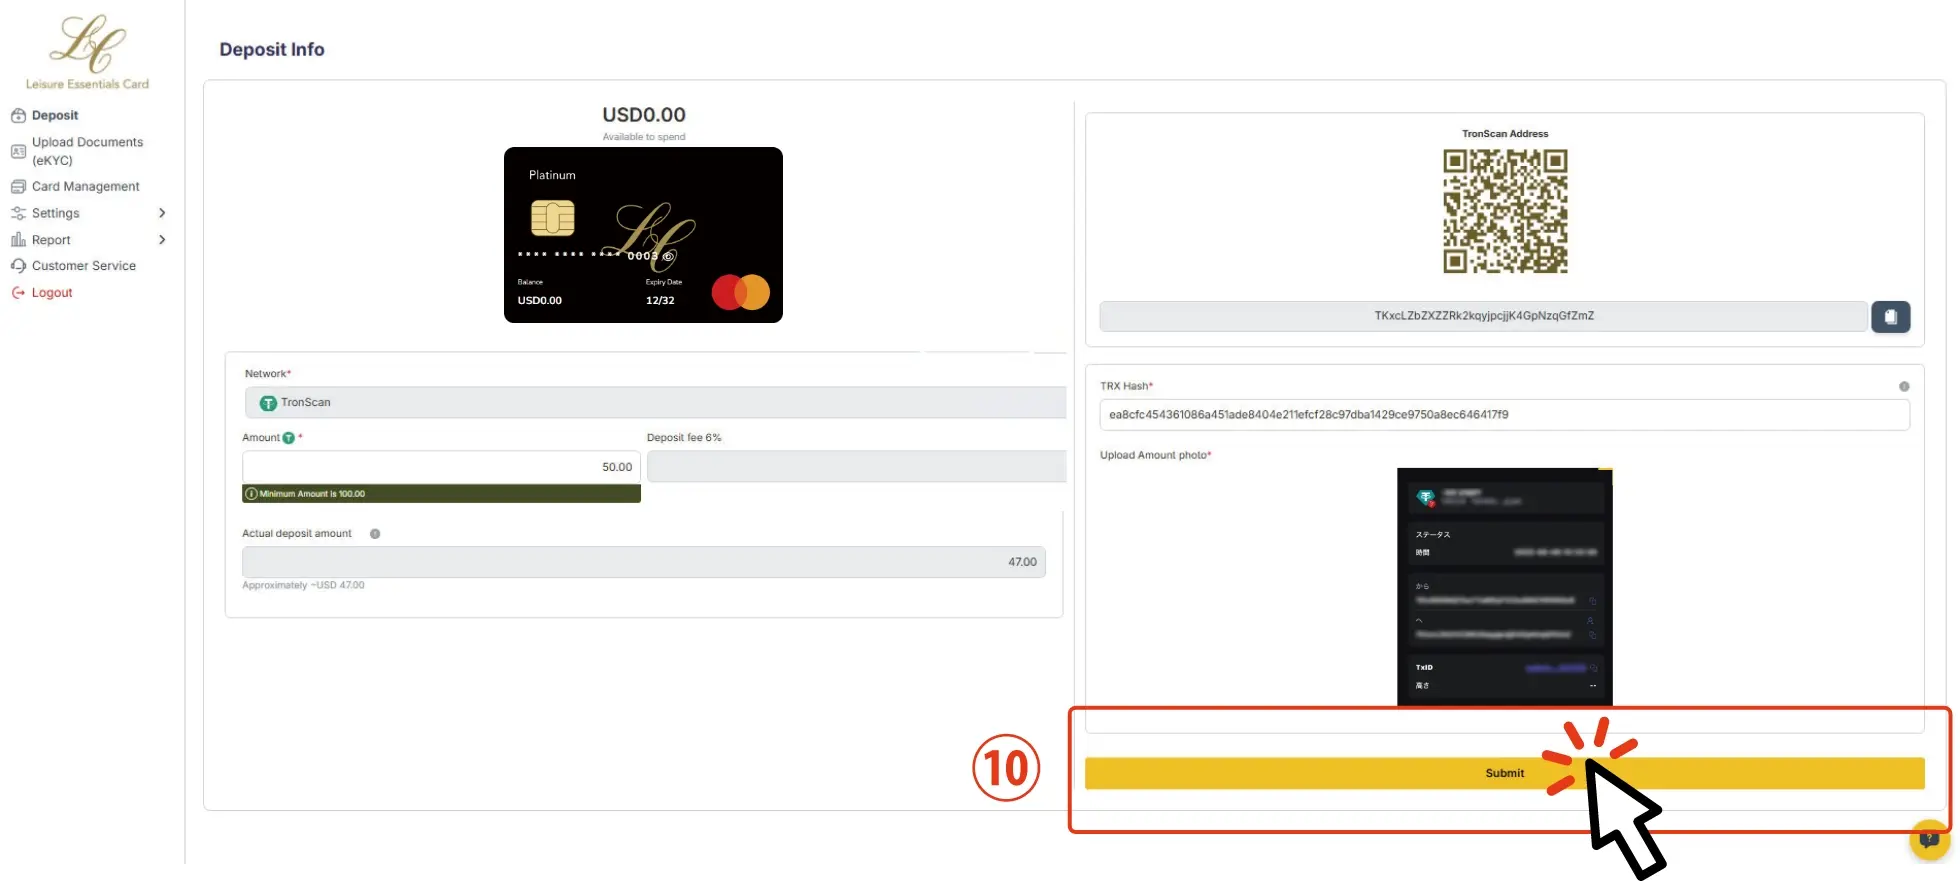
10.Once everything is ready, please proceed with the submission.

Once your payment is verified, the amount will be reflected in your wallet and the process will be complete.
【Check Your Card Balance】
To check your card balance, follow the steps below:
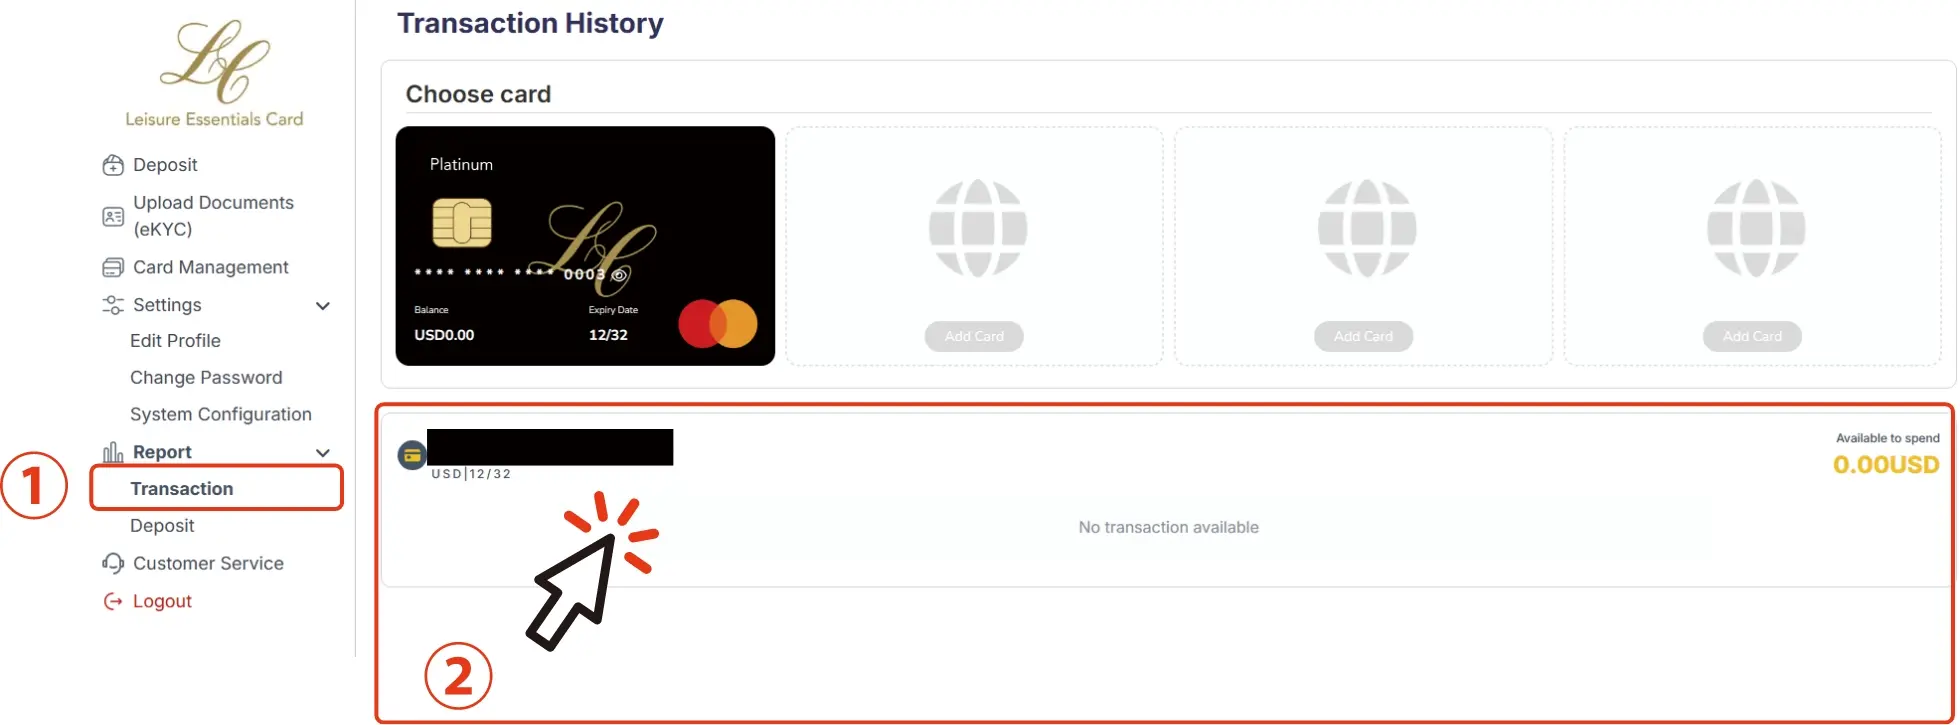
- 1.In the left-hand menu, go to the “Report” section and click on “Transaction.”
- 2.Your current card balance will be displayed.
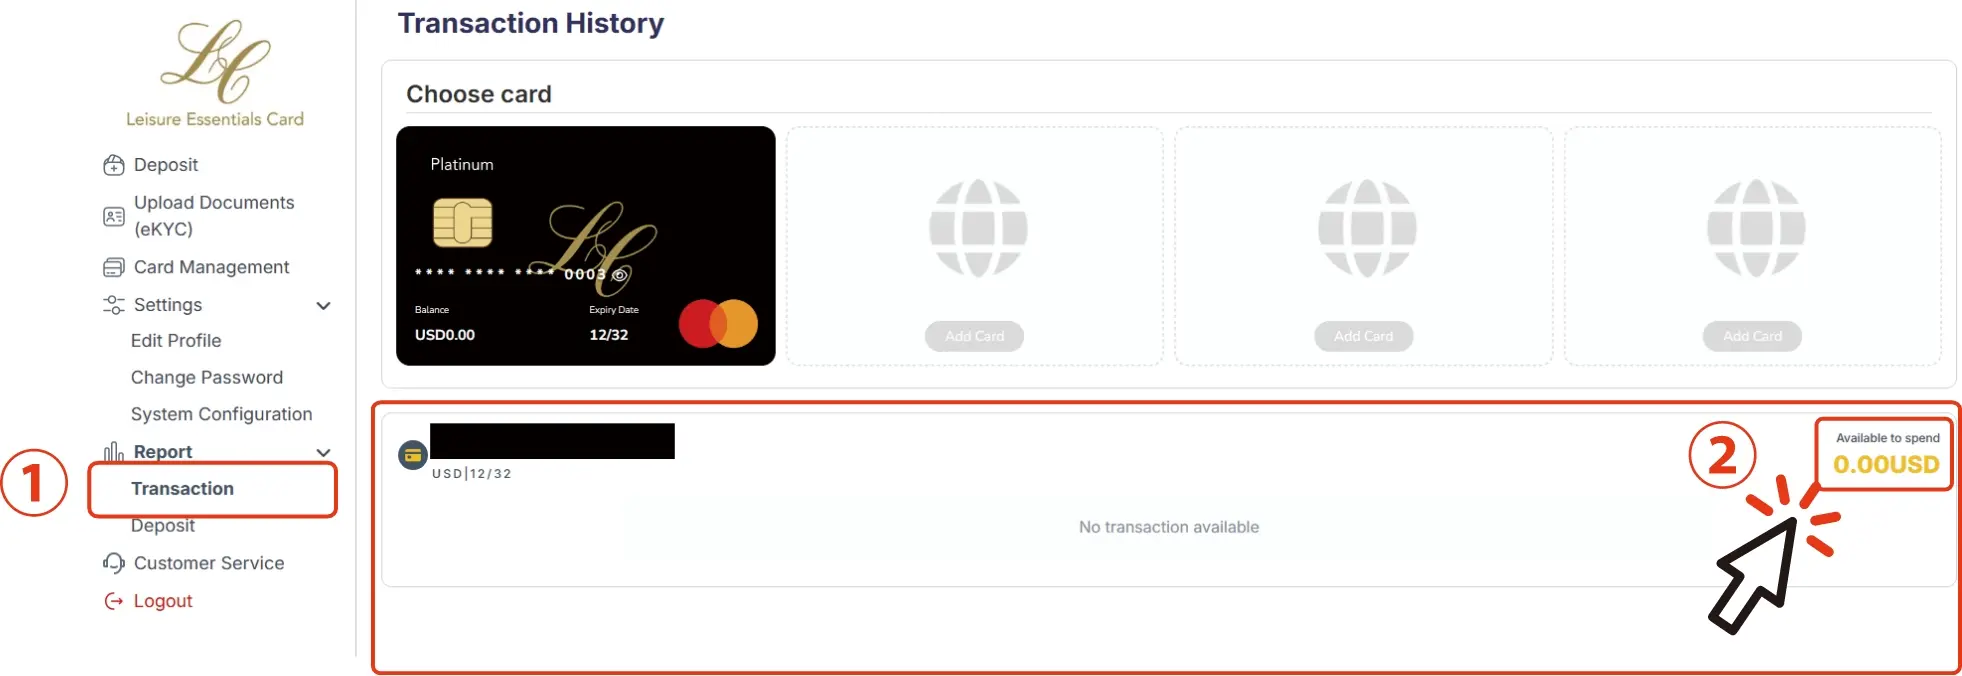
【View Your Card Transaction History】
To view your card transaction history, follow the steps below:
- 1.In the left-hand menu, go to the “Report” section and click on “Transaction.”
- 2.Your transaction history will be shown on the screen.